Good afternoon! Have you had a hyggelige week? Have you caught up on any overdue (craft)work? I’ve read various responses in the groups the past week! Some of you are anxious to get back to the embroidery, while others are happy to catch their breath! This week we’ll crochet the other section of the back piece, so we’ll have the background finished before we start the embroidery of this more complex part of the shawl. After finishing the crochet, take your time to count out the center row and where the separator of the other side of the shawl should be. It really helps you in the next few weeks, as the embroidery charts are a bit larger compared to what we have been doing up to now.
As mentioned in the pattern, you can choose to embroidery the separator in this week, or when you’ve finished your centerpiece. If you choose to do it after the center panel embroidery, you still have the chance to fix any counting errors which may have caused you not to crochet in the center of the back panel. If you do it right away, you can eyeball the ‘look and feel’ of your back piece a bit better. It’s up to you really!

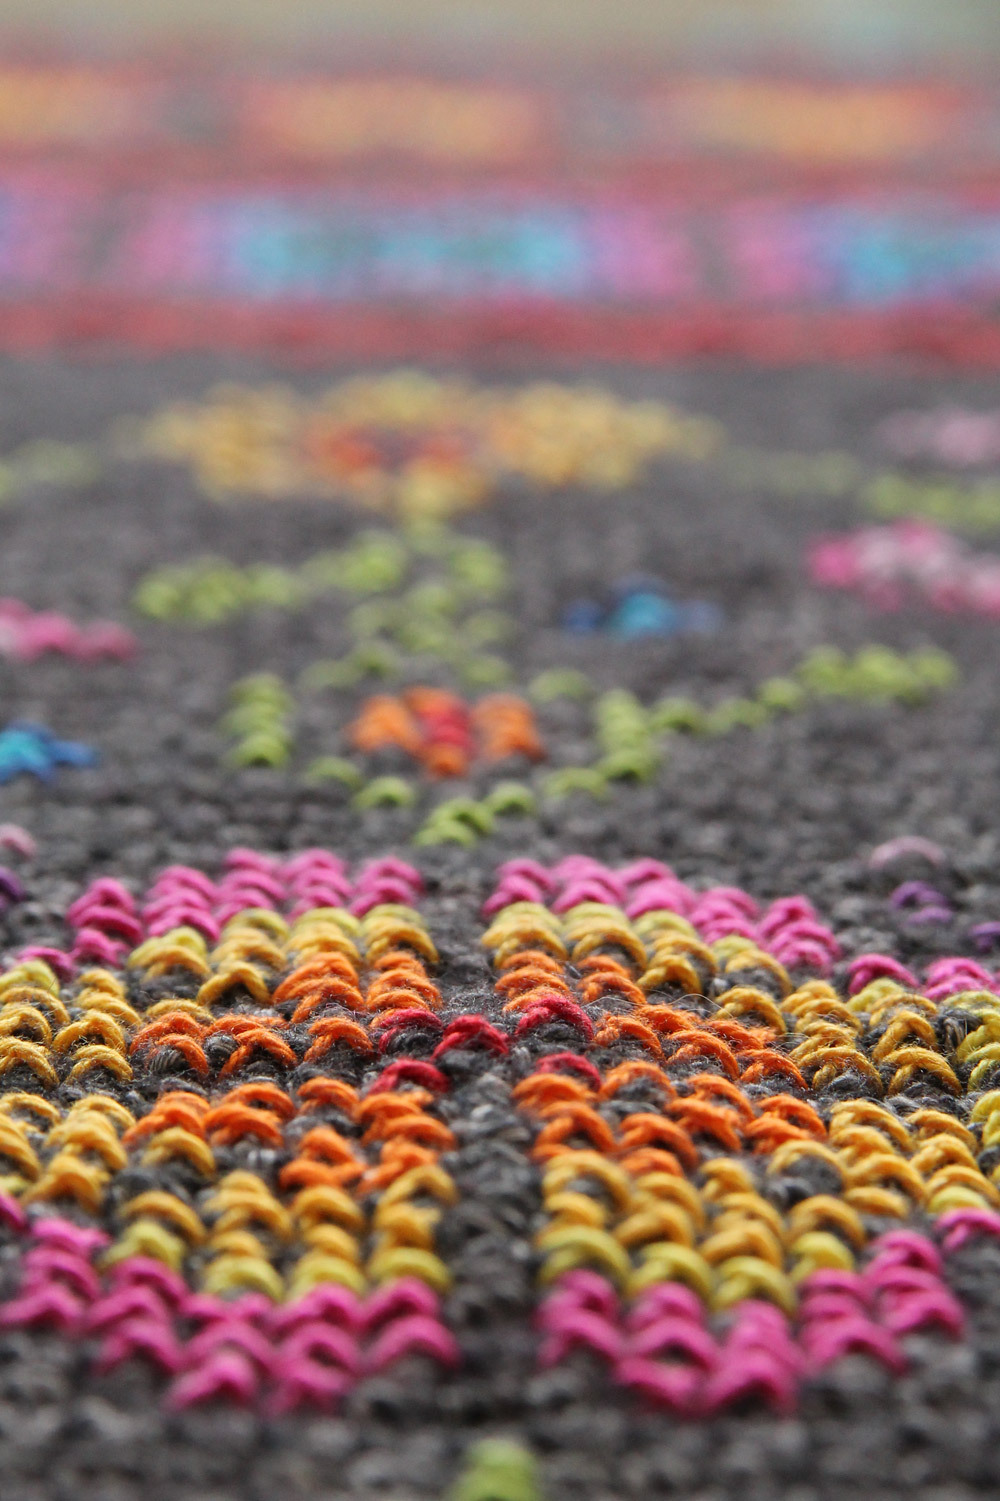
Sneak peek of next week!
Sizes
I’ve had a few questions regarding the measurements of the shawl both on- and offline. So let’s talk about sizes! After finishing this week’s crochet, you’ve made the bobbles and embroidery for one side, and the background for the center panel. The total shawl will measure 180-190cm (71-75in), blocked and edged. So where ‘should’ you be now? At this point in the CAL, you ‘should’ have around 55cm (21.5in) for the bobble/embroidery section, and 55cm (21.5in) for the center panel (give or take a bit there, as you also crocheted the rows for the separator section on the other side of the center panel). Following these measurements, your shawl (without border) will end up around 165cm (65in) after finishing week 12. Later on you’ll add the border and with a bit of blocking it will reach the final measurements. Without a border, the shawl measures 30-32cm (12-12.5in) in width. When we’re bordering it later and with a bit of blocking, that will reach 36cm (14in).
If your shawl doesn’t meet these measurements, don’t panic just yet! There are a couple of things you can do.
- You can add motifs to both sides of the shawl. Be sure to do this before we start embroidery the center panel for the obvious reason that you need extra space on both sides of the center panel. Depending on the motif you’re adding this can easily give you up to 15cm (6in) extra on each side without further modifications.
- You can adjust the edging on the short side. I won’t reveal the details just yet but you can easily add a few extra rows there too.
- You can modify the center panel. This requires some patience on your side though as the back panel pattern is released in two parts, just as the crochet part was (otherwise it would be around 100 rows of cross stitch in 1 week, which seems like a bit of overkill!). You could add some extra blank space on both sides of the panel, or you could repeat some flowers, butterflies or other elements from the panel. Work your own magic, I’m sure you can come up with something nice!
You see, there are many ways to adjust the size of your shawl. Don’t forget that you might need a bit more yarn though, depending on how much you’ve used up thus far. You can calculate the number of skeins you’ll need for the remainder of your shawl, because it will be pretty much the same amount you’ve used in weeks 1-4. The border takes up quite some yarn too (it’s a long way ’round!) so take around 1-1.5 skein in account for that.
Don’t underestimate the effect of blocking. It’s hard to gauge how much you can gain by blocking as that heavily depends on how tight you crochet and how elastical your piece is. You can gauge it for yourself by flattening the shawl with your hands from the center to the outsides. If there’s much stretch there, you can probably get around 10cm (4in) with blocking. If it’s doesn’t give, expect a bit less. You should always take care not to overblock your piece, as you don’t want your cross stitches to become rectangular. Instructions for blocking are in the Tips & tricks file.
Details
The kits are for sale through various Scheepjes retailers, such as Wool Warehouse. The pattern will be released from February 15th 2017 in 14 weekly installments in the Facebook groups, and on Scheepjes.com. To help you understand the patterns, the fabulous Esther from It’s all in a Nutshell has made videos for the techniques used in this CAL. You can find her video’s on her Youtube channel, It’s all in a Nutshell Crochet.


Comments
dat ik voor de rand te weinig garen heb. Hoeveel is er nog voor de rand ?
Love Hygge, groetjes Yvonne March 22, 2017 18:46 - Reply