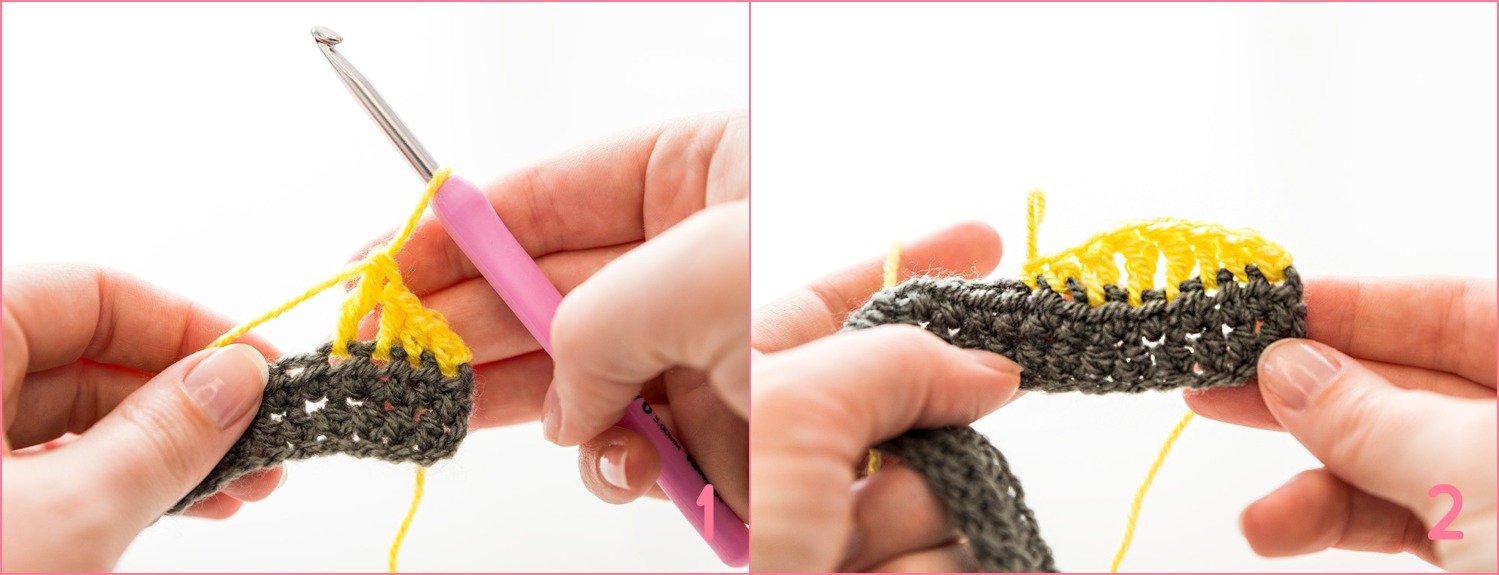
The wave stitch is a combination of stitches with different heights. By crocheting the first row in waves, and the second row in ‘anti-waves’ you create a wave row. It might look like the grey rows on either end of the wave stitch are wavy as well, but this will rectify itself when you continue crocheting the blanket.
This stitch is worked a multiple of 8, and we have 241 stitches (145 in the Baby version). Because of this, we’ll have one stitch too many after finishing the final wave. So we’ll crochet an extra sc (and in the next row, the ‘anti-stitch’) to sort this out.
Join your yarn with a ss in the first stitch. Crochet a ch and sc in the same stitch as your ss. Next, crochet a hdc, dc, two tr, dc, hdc and sc. This is a wave (photo 1,2). Repeat this until the end and crochet one extra sc (photo 3). Cut yarn and turn your blanket.
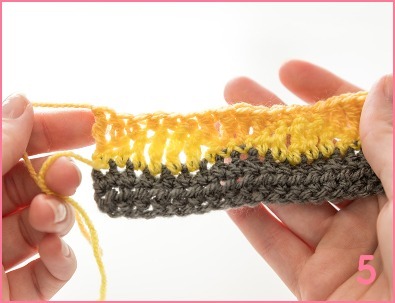
Join your new colour with a ss in the first stitch (that’s the final sc of the previous row). Crochet four ch that count as tr. Crochet a tr in the next sc, a dc in the hdc, a hdc in the dc, and a sc in the tr. This is the first half of your anti-wave, and you see the height difference is cancelled out now (photo 4). Crochet a sc, hdc, dc and tr. This is your first complete anti-wave. Continue like this to the end, cut your yarn and turn your blanket (photo 5).


Comments
Be the first to comment to this post!