Easter Bunny Mug Cozy
14.Mar.16 / Kirsten BalleringThe weather has been kind to us and the sun has been shining abundantly this past weekend. It does great things for my mood! That’s why I sat down and designed a new mug cozy. This one is seriously cute. The easter bunny mug cozy makes for a great last-minute gift!
Materials and preparation
Yarn
- Colour A: 719 Bright Pink x 1 ball
- Colour B: 502 White x 1 ball
- Colour C: 718 Light Pink x 1 ball
- pompom maker
- button
- mug (8cm in diameter, 9.5cm in height)
Shop the yarn
You can get Cotton 8 from Scheepjes retailers such as:
Crochet hook
3.5mm (US Size E/4).
Measurements
Fits a mug that's 8cm in diameter and 9.5cm in height.
Gauge/tension
Gauge is not critical for this project. Just make sure your cozy fits snuggly around the circumference of your mug after the first few rows.
Abbreviations (US terms)
- ch: chain
- ss: slip stitch
- sc: single crochet
- hdc: half double crochet
- picot: ch2, put hook through first ch, yarn over, pull back through all loops on hook
Crochet pattern
Basic cozy
Row 1 with Colour A, ch45, turn.
Row 2 Starting in second ch from hook, 44hdc, join with ss to first hdc. [44 hdc]
Row 3 Ss in next stitch, 42hdc, ch1, turn. [42 hdc, 1 ss]
Rows 4-15 42hdc, leave other stitches unworked, ch1, turn. [42 hdc]
Row 16 ch11, 42hdc, fasten off. [42 hdc, 11 ch]
N.B. the 11 ch in Row 16 are depending on the size of the button. A large button requires more chains to fit.
Ears (make 2)
Row 1 with Colour C, ch11, turn.
Row 2 Starting in second ch from hook, 5ss, 4sc, (5hdc in 1 st), turn chain so you’re working on the other side of the chain, 4sc, 5ss, cut yarn.
Row 3 Join Colour B in the first ss of Row 2. 10hdc, 2hdc in 1 st, (hdc, picot, hdc in 1 st), 2hdc in 1st, 10hdc, cut yarn and fasten off all loose ends.
Pompom
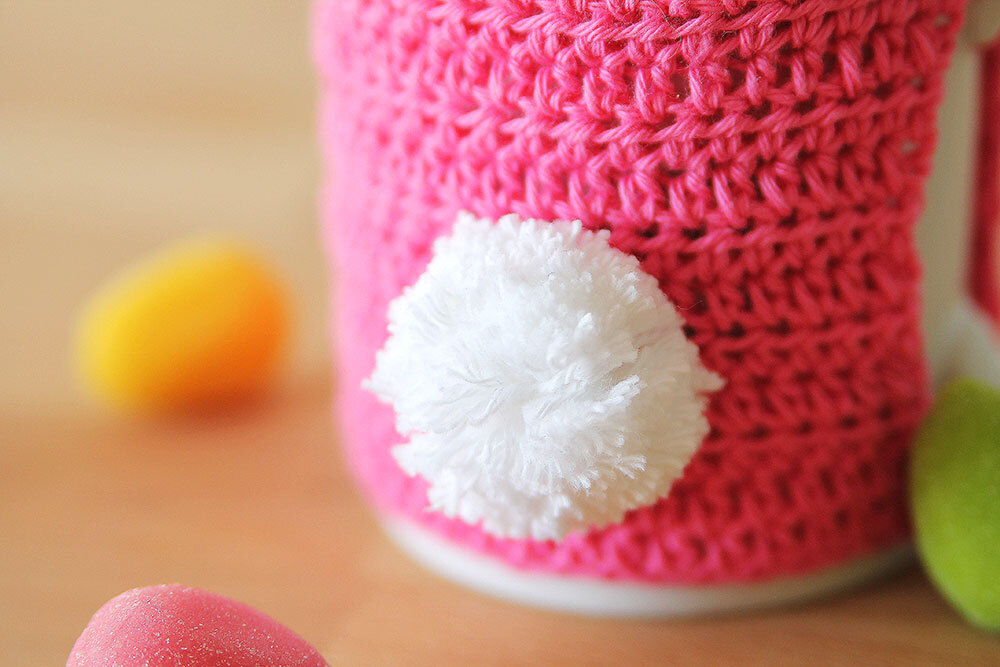
Following the instructions on your pompom maker, make a small pompom (approx. 3-4cm in diameter) for the butt.

Assembly
To make the ears stand up straight, I used an ironing stiffening spray before assembly. Alternatively, you can follow the instructions in this pattern to make them even more stiff with wallpaper glue.
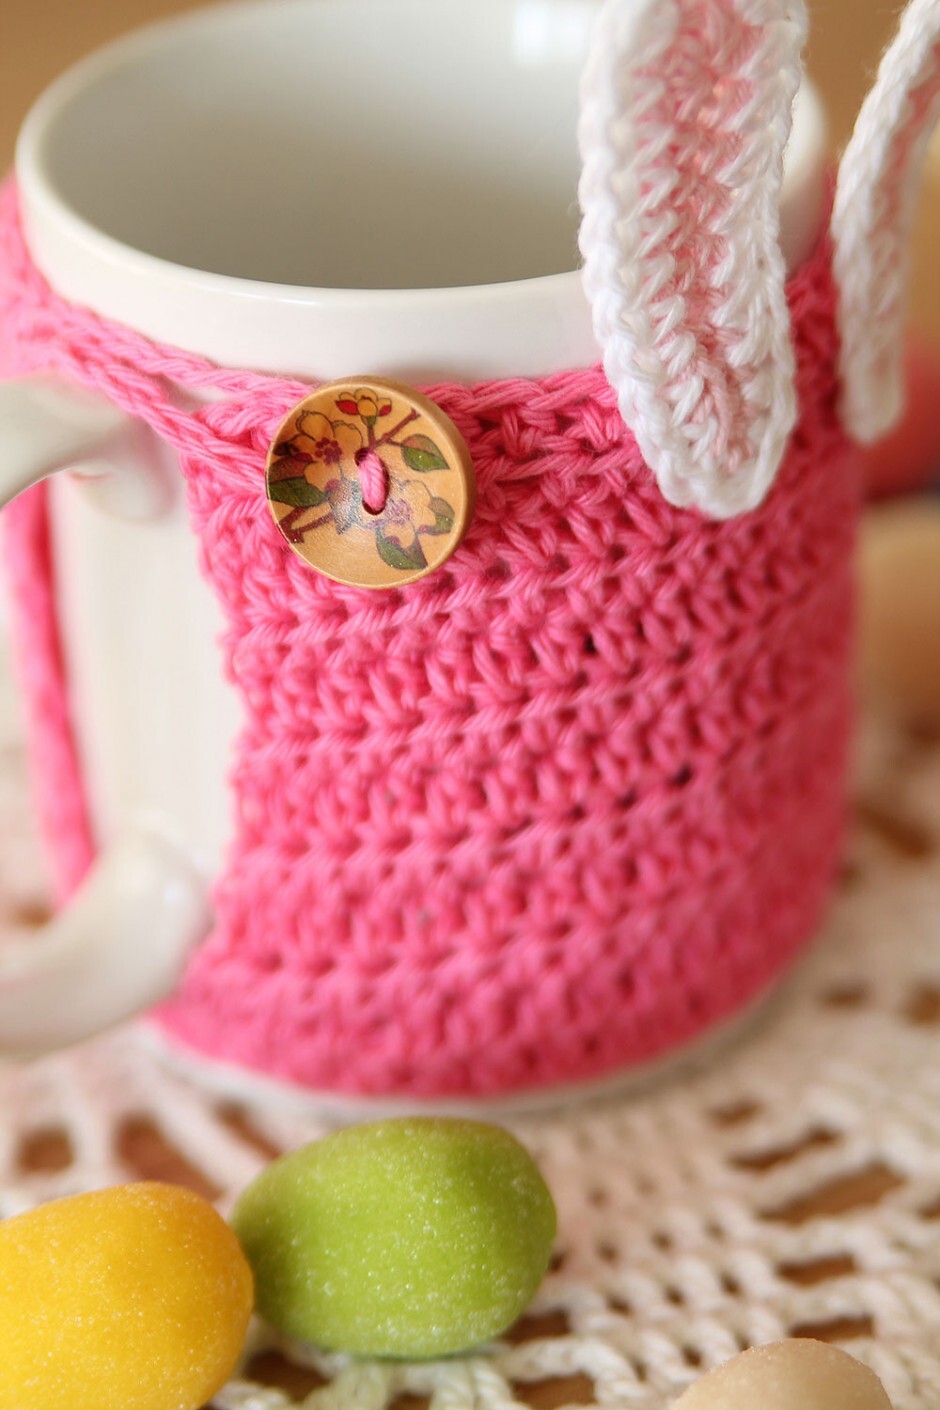
With Colour A, sew the button on the cozy. with Colour B, sew the pompom on the back of the cozy (the part where the button string is).
Next, loosely place your ears on the opposite side of the cozy. Make sure the ears are aligned left and right from the pompon and the lower part of the ears is approximately 3 rows from the top. If you’re happy with the alignment, sew them on tight with Colour B.


Comments
I really love this do you perhaps have a video of this June 10, 2020 12:25 - Reply
sorry, I don't have a video available! June 10, 2020 21:28 - Reply
Thanks for asking! In general I don't, but I hope you can find somebody local who'd be willing to make something for you? June 15, 2020 17:12 - Reply