

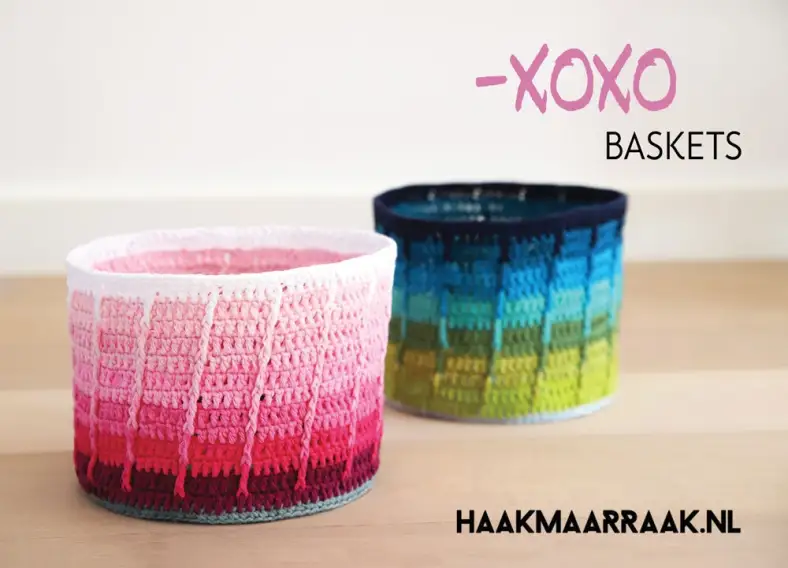
The XOXO baskets are designed to accompany the XOXO pillow. You can create one basket with the leftover yarns from the pillow!
Materials and preparation
Yarn
| Label | Colour name | Code | Amount |
|---|---|---|---|
| Colour A | Silver Blue | 528 | 8 balls |
| Colour B | Snow White | 106 | 1 ball |
| Colour C | Powder Pink | 238 | 1 ball |
| Colour D | Icy Pink | 246 | 1 ball |
| Colour E | Tulip | 222 | 1 ball |
| Colour F | Fresia | 519 | 1 ball |
| Colour G | Shocking Pink | 114 | 1 ball |
| Colour H | Tyrian Purple | 128 | 1 ball |
| Label | Colour name | Code | Amount |
|---|---|---|---|
| Colour A | Baby Blue | 509 | 8 balls |
| Colour B | Green Yellow | 245 | 1 ball |
| Colour C | Lime | 512 | 1 ball |
| Colour D | Sage Green | 212 | 1 ball |
| Colour E | Tropic | 253 | 1 ball |
| Colour F | Vivid Blue | 146 | 1 ball |
| Colour G | Petrol Blue | 400 | 1 ball |
| Colour H | Ultramarine | 124 | 1 ball |
| Label | Colour name | Code | Amount |
|---|---|---|---|
| Colour A | Bridal White | 105 | 8 balls |
| Colour B | Sweet Orange | 411 | 1 ball |
| Colour C | Royal Orange | 189 | 1 ball |
| Colour D | Hot Red | 115 | 1 ball |
| Colour E | Shocking Pink | 114 | 1 ball |
| Colour F | Garden Rose | 251 | 1 ball |
| Colour G | Ultra Violet | 282 | 1 ball |
| Colour H | Deep Violet | 521 | 1 ball |
Shop the yarn
You can buy Scheepjes Cahlista at Scheepjes retailers such as:
Crochet hook
4.0mm (US size G/6)
Measurements
22cm (8½ in) in diameter and 19cm (7½ in) in height
Gauge/tension
Not critical
Abbreviations (US terms)
- BLO
- back loop only
- ch
- chain
- dc
- double crochet
- FPdc
- Front Post double crochet
- FPtr
- Front Post treble crochet
- RS
- right side
- sc
- single crochet
- ss
- slip stitch
- st(s)
- stitch(es)
Repeat formats
- *….; rep from * once/twice/3x — Crochet the instructions after * and then repeat that section a further number of times as indicated.
- *…; rep to end — Crochet the instructions after * and then repeat that section to the end of the row or round.
- (…) once/twice/3x — Crochet the instructions between brackets the total number of times indicated.
- […] — Indicates the amount of stitches at the end of a row or round.
- (…) in same st/sp — Indicates that all instructions between brackets are worked in the same stitch or space.
Notes
When you’re working a FP-stitch around another stitch, don’t forget to leave the stitch behind the FP-stitch on the row you’re working on unworked (this is the stitch you would normally work when you would do a regular sc or dc).
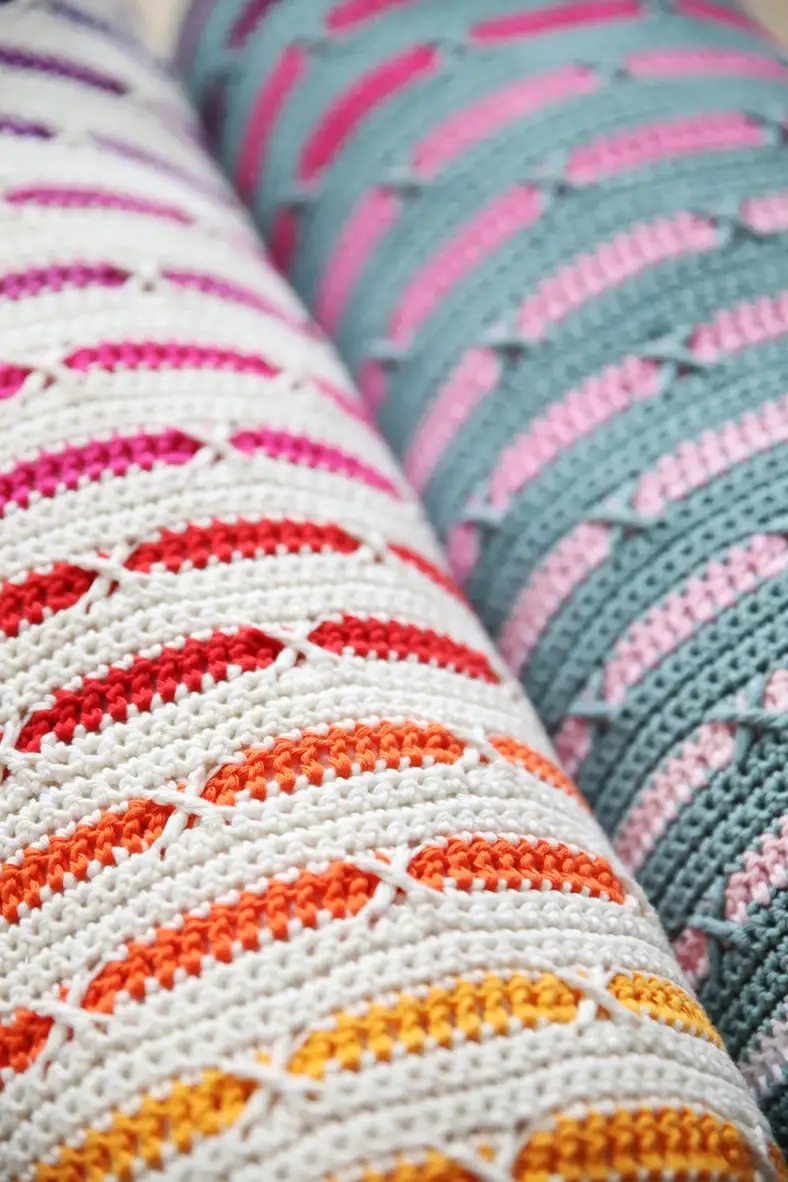
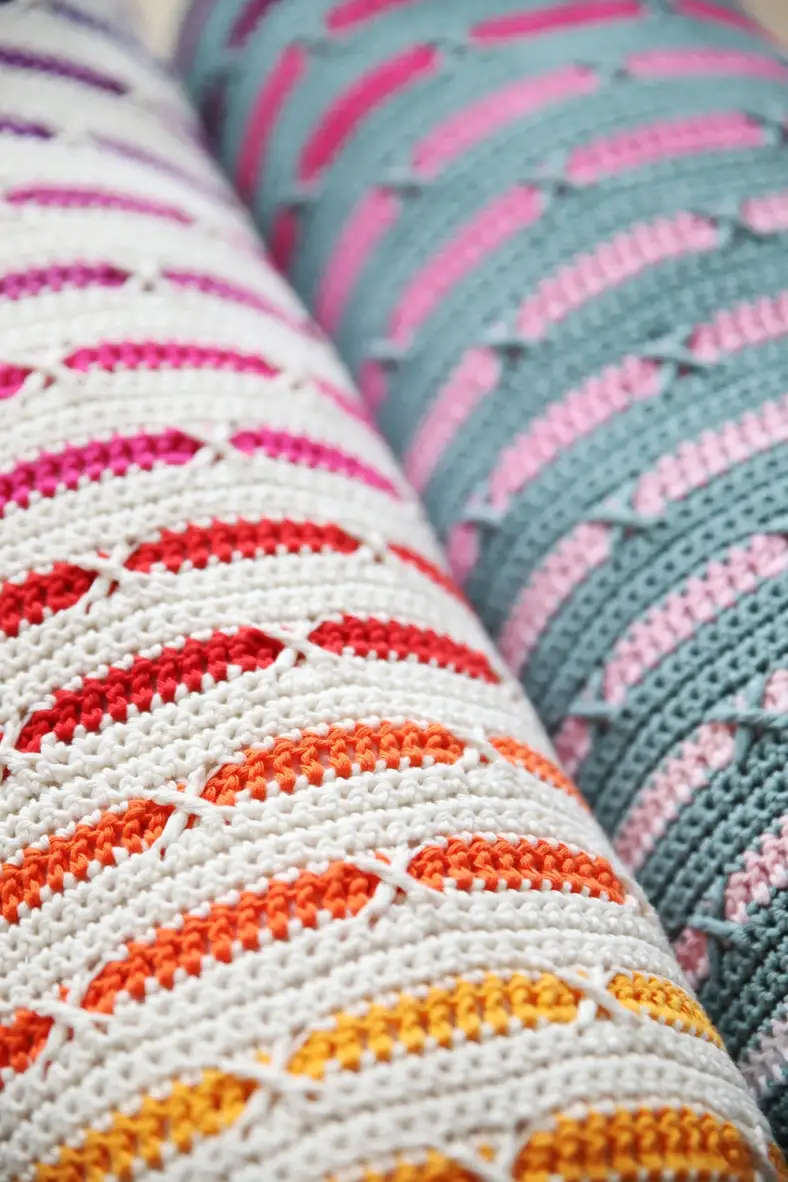
When you work up your FPtr’s on the side, it’s normal that they seem to lean a little bit to the side. This is something that happens when you work in the round. Embrace it, it’s a feature!
Crochet pattern
Bottom
With Colour A, make a magic loop (or alternatively, ch3 and join to first ch with ss). Leave a yarn tail of approximately 20cm to weave in later.
Working up the sides
Repeat Rounds 12-13 for Colours F, E, D, and C. Repeat Round 12 again with Colour B. Make sure that when you join a new colour, you join in the same stitch as you did for the previous colour to make sure the FPtr align with each other each row.
Weave in all your ends.
Optional: Stiffening the baskets
The baskets will hold their shape better if you stiffen up the baskets. You can do this in multiple ways, but I prefer to do this with wallpaper glue. You’ll need something to hold the shape of your baskets. I used a big glass container but a straight vase or even a round plastic box will work too, as long as the baskets fit snug around it.
To get started, simply follow the instructions on the wallpaper glue package. It usually says to mix the powder with water and to mix it properly before applying. Once the glue is ready, simply use a sponge brush or any other brush you have at hand to really saturate your baskets with glue. Don’t be shy, but make sure there are no lumps of undissolved powder on your basket. When you finish, make sure to pay extra attention to the ends of your basket to make them nice and straight. This is your chance as they will dry up in the shape you’ll leave them.
Leave your basket to dry completely (might take up to 48 hours, easily!) and then carefully peel it off of your container. I used the end of a spatula for this. If necessary, repeat the process.
Changing the size of the baskets
To increase or decrease the size of the baskets, adjust the number of rounds for the bottom. To make a smaller basket, stop increasing the bottom once you’ve reached your desired size, and work Round 9. Work the instructions for the sides as given, but simply work less than 10 repeats, how much repeats you need to complete a round depends on how small your basket is. As long as your bottom circle stitch count is divisible by 6 this won’t be a problem.
To increase the size of your basket, keep increasing the bottom circle by following the set pattern in rounds 2-8, so adding one extra stitch in between the increases each round. Repeat Round 9 once you’ve reached your desired size. For the sides, simply repeat the instructions as given but increase the number of repeats. As long as your bottom circle stitch count is divisible by 6 this won’t be a problem. Please note that you will need more yarn if you increase the size of your basket.
You might also like
Comments
Be the first to comment to this post!