*translation: This Work in Progress is almost Completed!
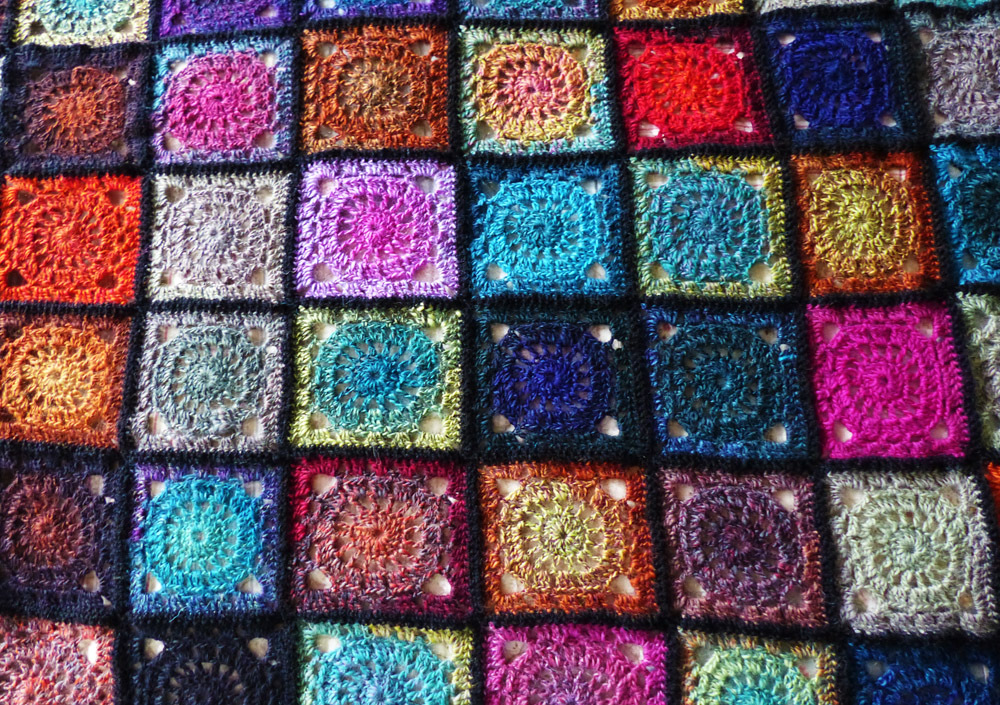
I promised to show some pictures of the blanket in progress. It's a blanket made from the Garnstudio's yarn 'Drops delight' and 'Fabel'. I used a few more colours, this time I included the red/grey/black variety. It has turned out beautiful, I think! Sometimes I do get questions from people how I design my blankets, choose which colours to go where and so on. I'll try to explain this for this blanket, but basically I do the same every time. Just bear with me!
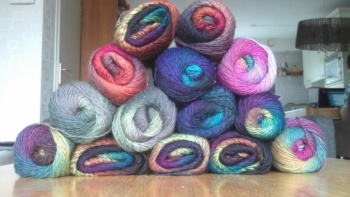
The starting pile (this is the yarn used for the squares, not for joining) is pretty large. The red/grey/black variety is in the 2nd row most left, and the 1st row top right. The other colours were according to the pattern (by the way, the pattern can be found here).
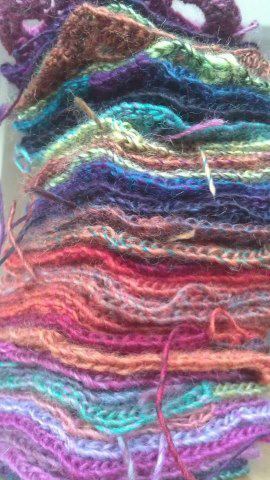
So on to crocheting all the squares! ALL THE SQUARES! Since I can make around 10 from 1 skein of yarn, you can figure out that I made about 150 squares. It doesn't seem like a lot compared to other projects, but when you got to start with number one it's a huge number, trust me.
And trust me on this one as well; sew the ends in every 30 squares or so. Otherwise, you will end up with a messy stack of 150 squares, wishing you never started this project.
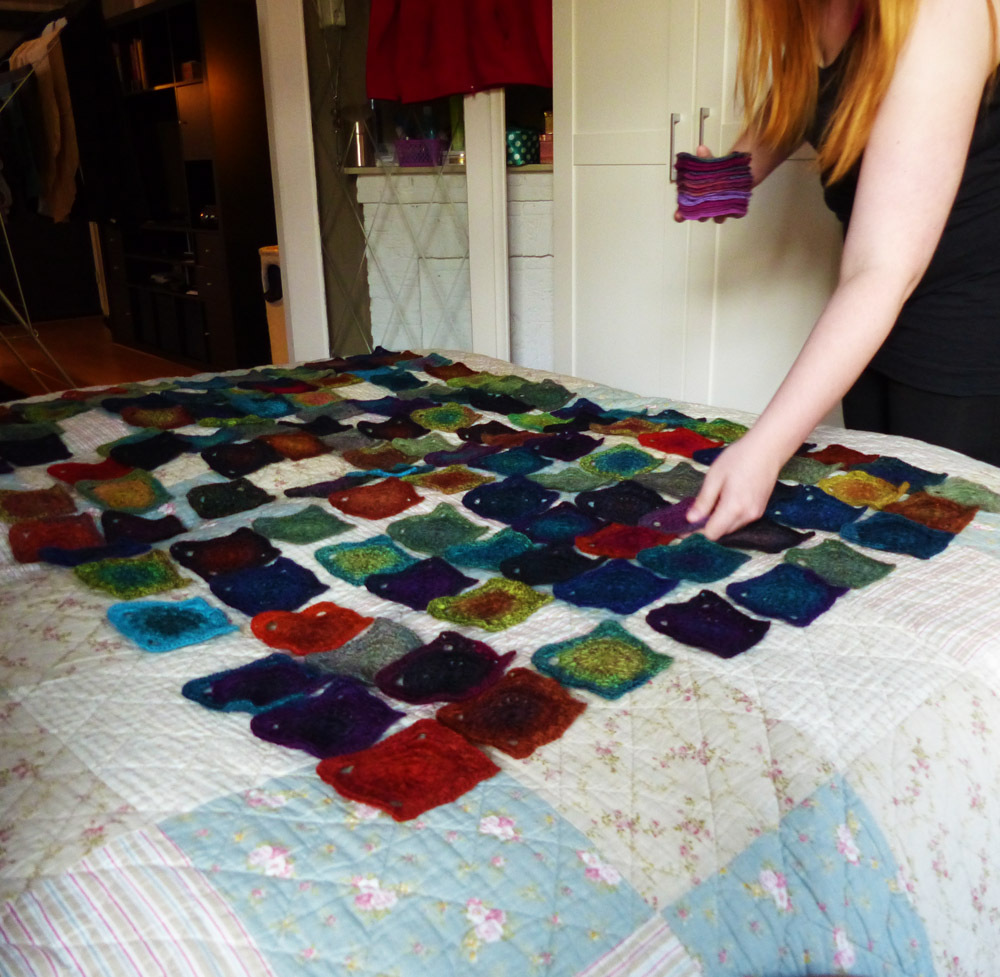
After all the squares are made, it was time to make up the configuration. I made sure that I had a surface to lay it all out (the surface being my bed). I divided all the squares in colour groups. Because the skeins are variegated, there are multiple colours in each stack. In general, I look to the edges. if they are particularly green, they go in the green group. If they are blue/purple, they go in the blue/purple group and so on. I check the stacks halfway through to see if some squares stand out from the rest, and usually, I end up placing those in a 'random' group with bright colours, or colours that only appeared once in all the squares (like yellow).
After making the groups I decided on the measurements. I had 152 squares made, but decided eventually on a blanket of 10 x 15 squares. This way it seemed to fit 'human' proportions more compared to a square blanket. I grabbed a random colour stack and just started to lay everything out! In the picture below, I'm holding the purple group.
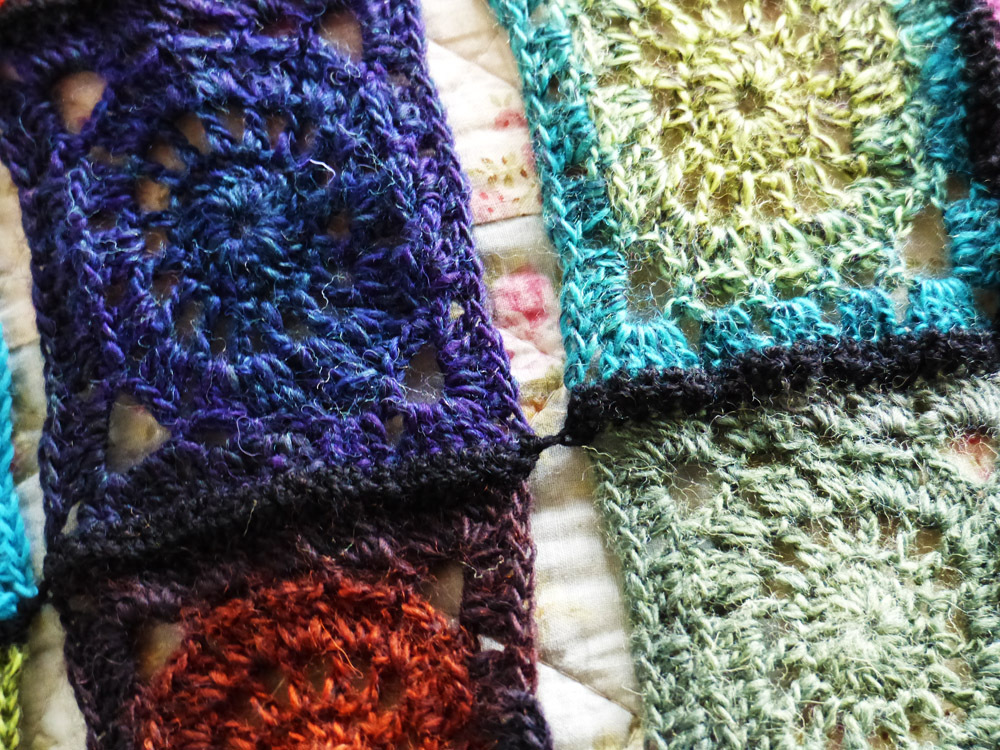
Don't worry about placing two squares with the same colour adjacent. It happens when there are a lot of blue or green or dark tones. It's just the basic colour of your blanket and the dark effect will disappear once you put the 'rare' or bright colours in.
Sometimes an unexpected visitor would mess up some things...

But eventually, all the squares were placed.

Then it's time to squint! Yes, you heard me, squint! I always need to check if I didn't make an area of the blanket particularly yellow, green, dark or light. I found the best way to do this is to squint your eyes and see if something stands out, like a very dark piece of your blanket. If that's the case, I just shuffle some squares around until I am satisfied.
Now I still have to keep track of all the squares and where they are supposed to go when I want to join them. Silly me, I didn't take any pictures of this step but I'll try to explain it as clear as possible.
I stack the different rows up from right to left (since you start crocheting on the right, and go to the left you always have the right order). Then I bind them together with a rope and I hang a number onto that rope. This way, I get 15 stacks of 10 squares each, every one stacked from right to left.
When I start joining, I join 2 horizontal rows together. I take stack 1 and 2, and join the first 2 squares of the stacks. Then I move on towards the next 2 squares of the stacks. This way, you always have adjoining squares together without getting confused which one goes where.
When you went through the first 2 stacks, hang the number from your stack to the corresponding row (so if you put it away, you know which end you need to join your next row). You take the 3rd stack and start joining this one by one to the second row. And so on, and so on.
Eventually, you end up with a blanket that is not really in shape, because only the horizontal rows are joined. Don't worry, then you can start to join the vertical rows. Now you don't have to keep track of what goes where because everything is already secured in place!
This is a picture from when I still had to join the last 2 vertical rows (they're done now). As you can see, whenever you join all 4 sides, the square shape returns whereas you only have joined 2 squares, you get a sort of elongation. Don't worry, if you are still not satisfied after finishing it you can always block it.
And that's the joining! After this, the edging is the next challenge, but I think that is clear from the pattern. I do not have pictures of the edging as I still have to finish it but I'll show it to you properly when the blanket is finished.
Well, that's about the blanket. I got one little thing to share with you guys. I don't know about you, but sometimes I get the irresistible craving to change my hair colour.
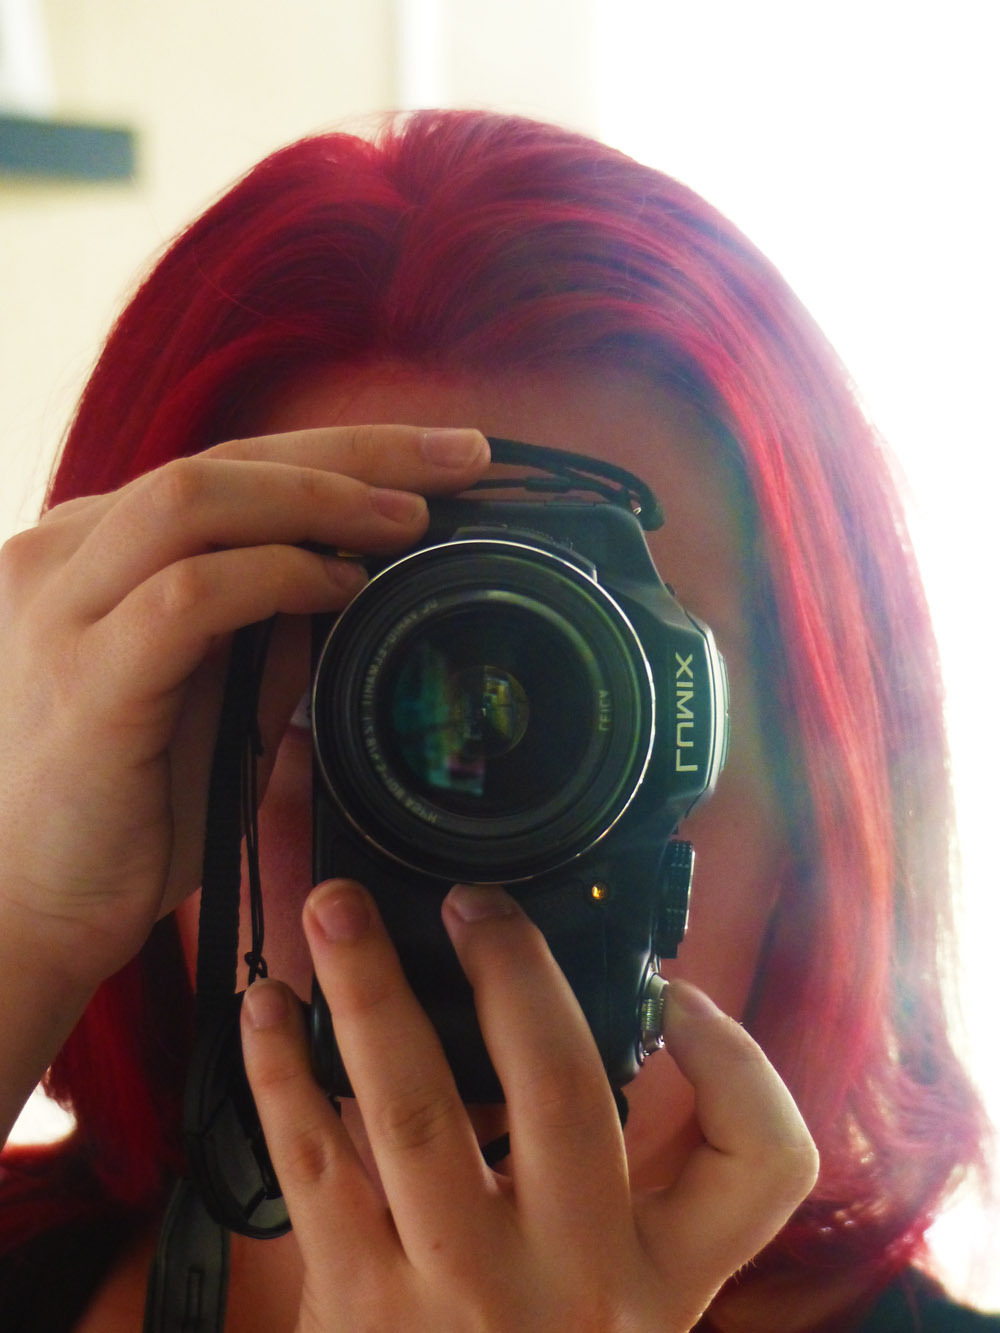
red, red, red baby!
I hope it stays true to this colour for a while but I'm afraid it will fade quickly. Fortunately, the barber said they had some sort of 'refresh' dye to use at home in the shower so I might try that after a few weeks!
Well, that's it for now! I'm trying to take a few pictures for the pattern of the mini bunting, but the weather is not really helping. So that's postponed until next week. In the meantime, plenty of time to finish the blanket and to crochet some things for the 2nd edition of ORIGINAL market! The 1st of September I will be joining them again. The market is in Leiden this time, and the best thing; it's a 10-minute walk from my home (and a 2-minute walk from the station)!


Comments
Be the first to comment to this post!