How to crochet the Star Stitch
The Star Stitch is a modern and warm stitch type that looks great in any home decor project. While it might look complicated at first glance, i assure you you can do this stitch too. It consists of a two-row repeat. Let me show you how to do it!
Star Stitch stitch multiple
The stitch multiple of the Star stitch is 2+1 stitches. So if you want to figure out how many stitches to start with, simply take a multiple of two, and add one to it. For example, 66 x 2 = 132, +1 = 133 chains you need to start with. Every 2 stitches added count for one extra star stitch in your row.
Star Stitch Tutorial
A full Star Stitch is made in two rows. In the first row you’ll create the bottom ‘spokes’ by crocheting stitches together. On the second row, you’ll create the top ‘spokes’ of the star.
First Row (bottom half of star)
Start with crocheting the number of chains as indicated above, for example, 133 (photo 1). Insert your hook in the second ch from hook, yarn over and pull up a loop (photo 2). This might be a bit fiddly, but it’s only for this first row as you’re working directly into the beginning chain.
Insert your hook in the next ch, yarn over and pull up a loop (photo 3). Insert your hook in the next ch, yarn over and pull up a loop (photo 4). Do the same for the next two stitches. You now have six loops on your hook. Yarn over once more and pull through all loops on hook (photo 5). Work a ch to create the ‘eye’ of the star (photo 6). This is your first Star Stitch!


Now we’re going to work our second Star Stitch. This one is worked partly into the first Star Stitch, to make the stitches sit nice and tight.
Insert your hook in the eye of the previous star, yarn over and pull up a loop (photo 7). Insert your hook in the spoke of the previous star, yarn over and pull up a loop (photo 8). Insert your hook in the stitch where the last spoke of the previous star is located, yarn over and pull up a loop (photo 9). Do the same for the next two stitches. You now have six loops on your hook (photo 10). Yarn over, and pull through all loops on hook (photo 11), and work a ch to create the eye (photo 12). That’s your second Star Stitch done!
Continue like this until you only have one chain left (photo 13). After finishing your last Star Stitch, work a hdc in that final stitch (photo 14). You will need this hdc as support for the border later. Your first row is now complete. Turn (photo 15).


Second row (top half of star)
The row on the wrong side is the row where you crochet the top spokes. Ch2. These two chains count as the first hdc of this row. Work 2hdc into the eyelet of each star (photos 16-17). Finally, work 1hdc in the top chain that you skipped when making your first Star Stitch (photo 18).


Depending on whether you’re working with one colour or multiple, either cut your yarn and join a new colour with a ss and ch3 (photo 19), or simply ch3 without cutting yarn. Create your first Star Stitch as explained in the first row (photo 20).
Continue making Star Stitches until you only have one stitch left (that’s the two chains that you worked on in your previous row), and crochet 1hdc in that final stitch (photo 21). Ch2, turn your work, work 2hdc in each eyelet and finally 1hdc in your last stitch (the skipped chain when starting this row, photo 22).


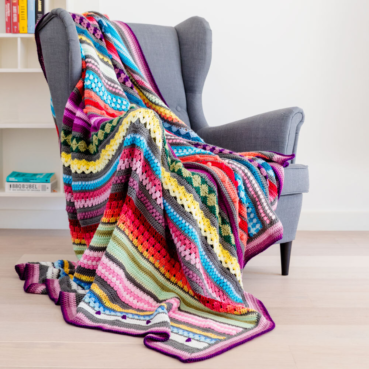
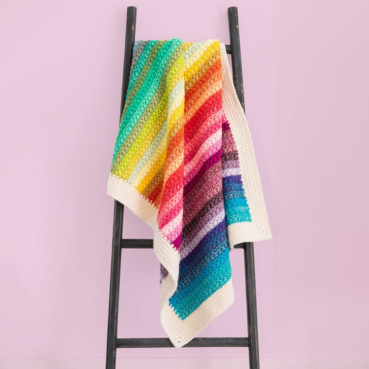
Star Stitch Crochet Patterns
Can't get enough of the Star Stitch? I have multiple patterns that use this fabulous stitch to practice on!


Comments
Be the first to comment to this post!