The Grapevine Pillow
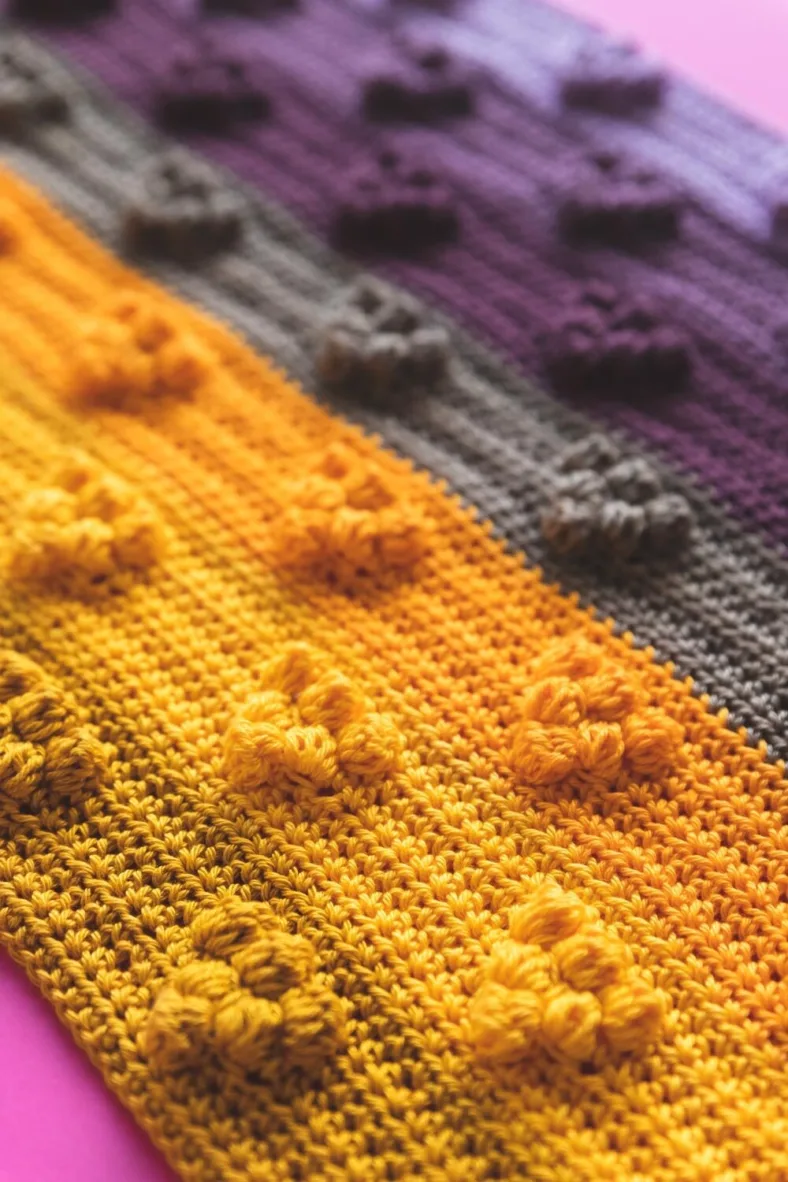
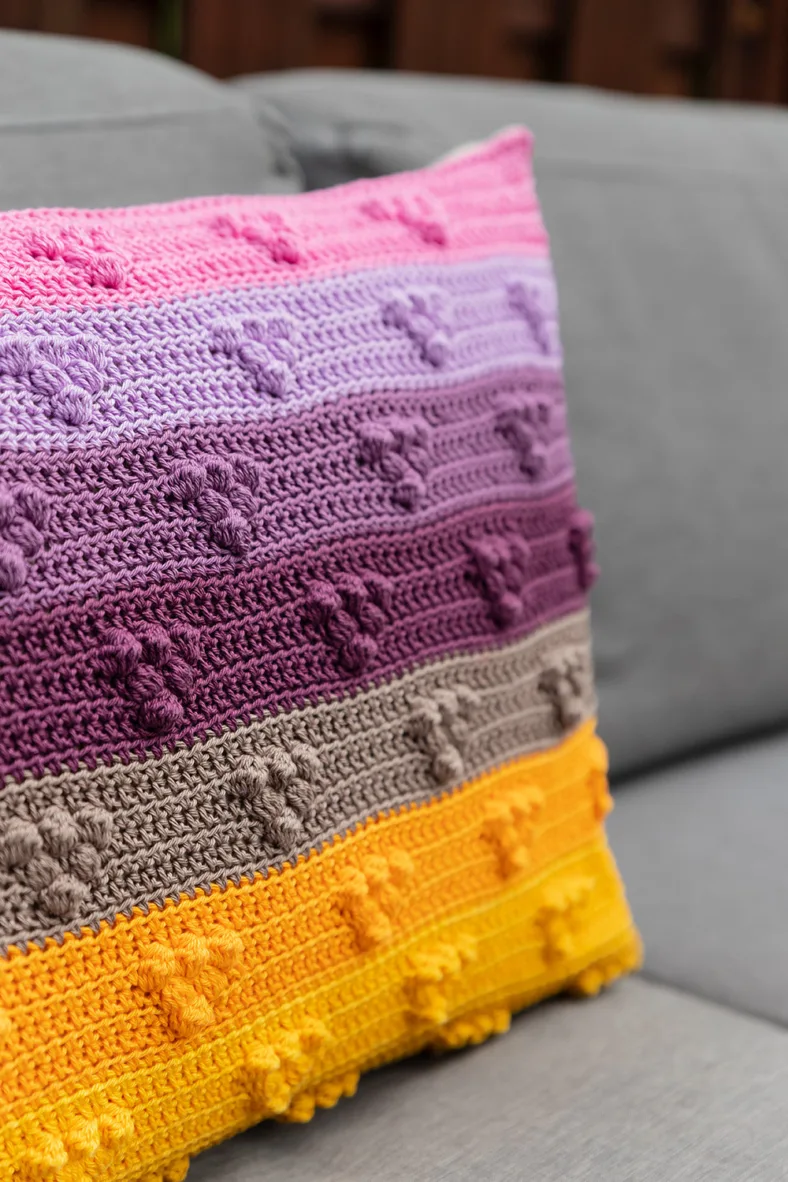
14.Jul.22 / Kirsten BalleringAs a feature pillow that brightens up the room, the Grapevine pillow uses the most basic of stitches and one special stitch to create little triangle drops of interest. Using my colours or with your own gradient, your pillow will be an absolute eyecatcher!
Materials and preparation
Yarn
- Colour A: 249 Saffron x 1 ball
- Colour B: 208 Golden Yellow x 1 ball
- Colour C: 411 Sweet Orange x 1 ball
- Colour D: 254 Moon Rock x 1 ball
- Colour E: 394 Shadow Purple x 1 ball
- Colour F: 240 Amethyst x 1 ball
- Colour G: 520 Lavender x 1 ball
- Colour H: 519 Fresia x 1 ball

- 1x pillowcase 65 x 40cm (25½ x 15¾in), I used SANELA from Ikea
- 1x matching sewing thread
- 1x sewing needle
Shop the yarn!
You can get Scheepjes Catona at retailers, such as:
Crochet hook
3.5mm (US size E/4)
Measurements
Fits 65 x 40cm pillow (25½ x 15¾in)
Notes
The rev bobble is just like a regular bobble. When finishing up the stitch, simply make sure the bobble is facing towards you (the RS). You can poke it outwards with your crochet hook to puff more.
If your bobbles aren't voluminous enough, make sure to crochet the next hdc tighter. This helps to make your bobble pop more.
Abbreviations (US terms)
- bobble: bobble: (yarn over, insert hook in st, yarn over, pull up loop, yarn over, pull through first two loops) 6x in same st, yarn over, pull through all loops on hook. Bobble appears on WS.
- cc: colour change: to change colour, finish stitch before indicated colour change until the last yarnover. Instead, take a strand of the new colour on your hook and yarn over in that colour. You now have a finished stitch in the old colour, and a loop on your hook in the new colour.
- ch: chain
- hdc: half double crochet
- rev bobble: reverse bobble: just like regular bobble, only when finishing up the stitch push the bobble to the RS of your work instead of WS.
- RS: right side
- ss: slip stitch
- st(s): stitch(es)
- WS: wrong side
Repeat formats
- (…) once/twice/3x Crochet the instructions between brackets the total number of times indicated.
- (…) in same st/sp Indicates that all instructions between brackets are worked in the same stitch or space.
Crochet pattern
Pillow Front
With Colour A, ch106.
Row 1 (WS) Starting in second ch from hook, 105 hdc, ch1, turn. [105 hdc]
Row 2 (RS) 105 hdc, ch1, turn. [105 hdc]
Row 3 10hdc, (1bobble, 13hdc) 5x, 1bobble, 10hdc, ch1, turn. [99 hdc, 6 bobbles]
We'll be making reverse bobbles (rev bobbles) in the next row. These are just like regular bobbles, only we make sure when closing the bobble with our final yarn over and pull through that it peeps out to the right side of your work, instead of the backside of your work like a regular bobble would.
Row 4 8hdc, (1rev bobble, 1hdc, 1rev bobble, 11hdc) 5x, 1rev bobble, 1hdc, 1rev bobble, 10hdc, ch1, turn. [93 hdc, 12 rev bobbles]
Take note that you start with 8, and end with 10 hdc in this row. I've offset the reversed bobbles in Row 4 by one stitch. They're leaning more sideways compared to the regular bobbles and without the offset, they would actually appear to be misaligned. Moving them over one stitch makes the bobble figures look more symmetrical.
Row 5 8hdc, (1bobble, 1hdc, 1bobble, 1hdc, 1bobble, 9hdc) 5x, 1bobble, 1hdc, 1bobble, 1hdc, 1bobble, 8hdc, ch1, turn. [87 hdc, 18 bobbles]
Row 6 105hdc, ch1, turn. [105 hdc]
Row 7 105hdc, cut yarn, do not turn.
It's clever to measure your pillowcase at this point. By now, it should be around ~60 cm in width, and you should be able to stretch it to ~63cm. Heightwise, the section should measure ~4.5cm.
Join Colour B with a ss in first st. Make sure you don't turn between Row 7 and 8, so keep working on the WS.
Row 8 (WS) 105hdc, ch1, turn.
Row 9 (RS) 105hdc, ch1, turn.
Row 10 17hdc, (1bobble, 13hdc) 5x, 1bobble, 17hdc, ch1, turn. [99 hdc, 6 bobbles]
Row 11 15hdc, (1rev bobble, 1hdc, 1rev bobble, 11hdc) 5x, 1rev bobble, 1hdc, 1rev bobble, 17hdc, ch1, turn. [93 hdc, 12 rev bobbles]
Just as in Row 4, the reversed bobbles are offset by one stitch. So you start with 15 hdc, and end the row with 17 hdc.
Row 12 15hdc, (1bobble, 1hdc, 1bobble, 1hdc, 1bobble, 9hdc) 5x, 1bobble, 1hdc, 1bobble, 1hdc, 1bobble, 15hdc, ch1, turn. [87 hdc, 18 bobbles]
Row 13 105hdc, ch1, turn. [105 hdc]
Row 14 105hdc, cut yarn, do not turn.
Repeat Rows 1-14 with Colours C-D, then Colours E-F, and finally Colours G-H. You now have a total of 56 rows. Fasten off, weave in ends.

Border
We'll be working our round of the border in the same colour as the underlying stitches. You can work over the beginning yarn ends of each colour while working the 9hdc in the side of each section. This saves you half the ends to weave in!
Border round (RS) Join Colour H with a ss in the side of the first row in that colour, on the right side. Make 1hdc in the same side, divide 8 more hdc over the side of the section. (1hdc, ch2, 1hdc) in corner st, rotate pillow.
1hdc in each hdc across top of pillow, (1hdc, ch2, 1hdc) in corner st, rotate pillow.
Divide 9hdc over the side of the section, (cc to next Colour, divide 9hdc over side of section) until you reach first section in Colour A, cc to Colour A, 9hdc in side of section, (1hdc, ch2, 1hdc) in corner st, rotate pillow.
1hdc in each ch across bottom of pillow, (1hdc, ch2, 1hdc) in corner st, rotate pillow.
9hdc in side of section, (cc to next colour, 9hdc in side of section) until you've worked your last section in Colour G. Join to the first st with a ss, fasten off. [107 hdc on long sides, 72 hdc on short sides]
If your pillowcase needs blocking, now is the time!

Sewing
I chose a white sewing thread that matched the colour of my pillowcase. The stitches are small and are hidden behind your crochet, barely noticeable.
Lay your pillowcase flat and place the Front on top, RS facing towards you. Pin the Front to the case in the corners, and halfway through each side. Use a sharp needle and white sewing thread to sew the third (back) loop of each hdc stitch to the pillowcase with small backstitches. Working in the third loop causes the top two loops to fall over the edge, hiding your stitches from sight. Fasten off and insert the pillow into the case.

Adjusting the size of the pillow
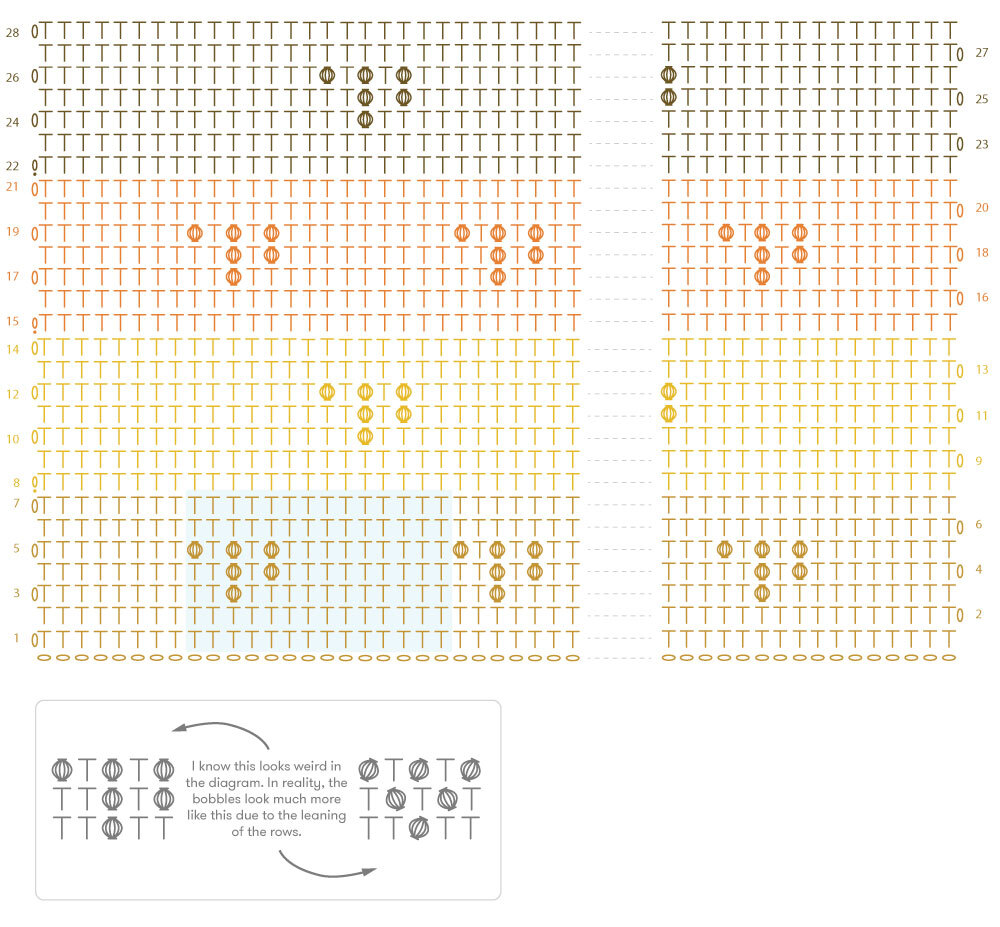
Widthwise, adjusting the size of this pillow is easy: add multiples of 14ch to the beginning ch of this pillow (or omit them). Then, repeat the row instructions between brackets in the pattern more or fewer times, depending on whether you add or remove chains from the beginning chain. This repeat section corresponds with the blue section in the crochet diagram. Each added 14 ch measure approx. 9cm (3½ in) on the finished pillow.
Heightwise, simply add or omit repeats of Rows 1-7 or Rows 1-14. Each repeat measures approx. 5cm (2in) on the finished pillow.
Diagram
Crochet diagram

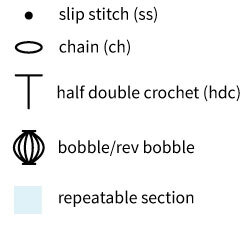
Key (US terms)


Comments
Be the first to comment to this post!