Surface crochet is a slip-stitch technique that's worked over the surface of other crochet stitches. So you're not working in the top of stitches of the previous row or round, but rather create slip stitches over the surface of the crochet work itself. It looks a little bit like embroidery. Sometimes it's also called embroidery crochet. It pairs up very well with cross stitch!
Which stitches can I use for surface crochet?
You can make surface crochet over every type of surface, but it works best when you work over single crochets. Single crochets are more or less square and that means you can stitch in every direction, much like cross stitches. Half double crochets are also a possible surface. These stitches are more rectangular, so they work very well when you want to make straight lines and not go across rows. It's a great idea for garments, because then you can pair the suppleness of half double crochets with the technique of surface crochet.
The same goes for double crochets: when you work in the top section of the stitches and not across rows, the result looks great!
How to surface crochet in half double crochets (straight line)
Instead of working in the top of stitches, we’ll be working over the surface of stitches. For surface crochet, it’s important to understand in which rows you’ll be working. In photo 1, I’ve marked these with a marker. You can see we will work in the top of the second row (yellow marker) and the top of the third row (blue marker). These rows form the visual centre of this section, you can check by rotating your work (photo 2).

We’ll start at the yellow marker. Hold your coloured yarn at the back of your work. Insert your hook from front to back in the first stitch, and grab a loop of the coloured yarn. Pull this loop to the right side, now you’ve got a loop on your hook (photo 3). Insert your hook into the next stitch (photo 4), en pull up another loop of the coloured yarn. Now you’ve got two loops on your hook (photo 5). Pull the last loop through the second loop on hook, basically making a ss on top of your crochet (photo 6).


Continue like this in the next stitches, working slip stitches over your crochet (photo 7). Make sure your stitches are supple and elastic by pulling up a generous loop and not holding your yarn too tight. If this doesn’t work for you, work the surface stitches with a larger hook such as 6.0 or 6.5mm. Stretch your work lengthwise to make sure your stitches aren’t too tight. Of course, you’ll feel resistance at a certain point, but you should be able to stretch it a little bit. When in doubt: redo and use a larger hook.
Continue like this to the end of the row. You’ve crocheted your last surface stitch when there are no more stitches left to insert your hook into. Cut yarn and pull the loose end upward through the final stitch (photo 8). After you’ve finished your second row, your backside will look like photo 9.


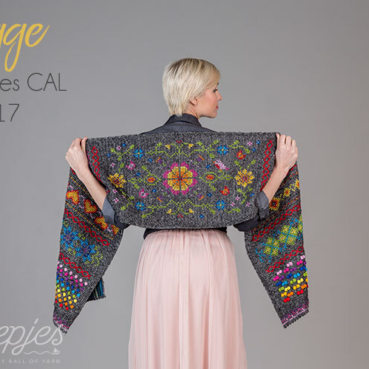
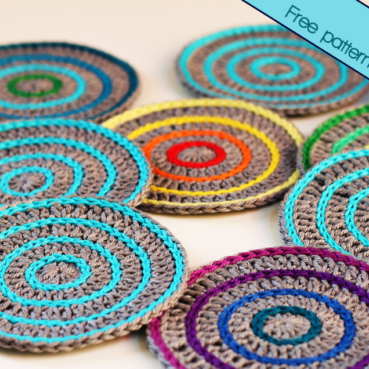
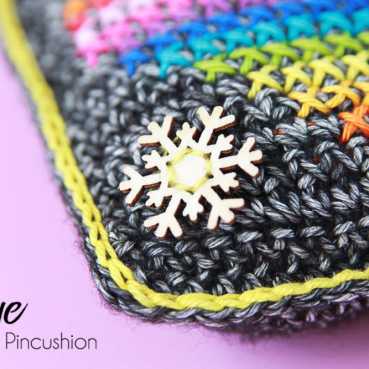
Surface crochet patterns
Did you like the surface crochet? I used this technique in several of my patterns:


Comments
Be the first to comment to this post!