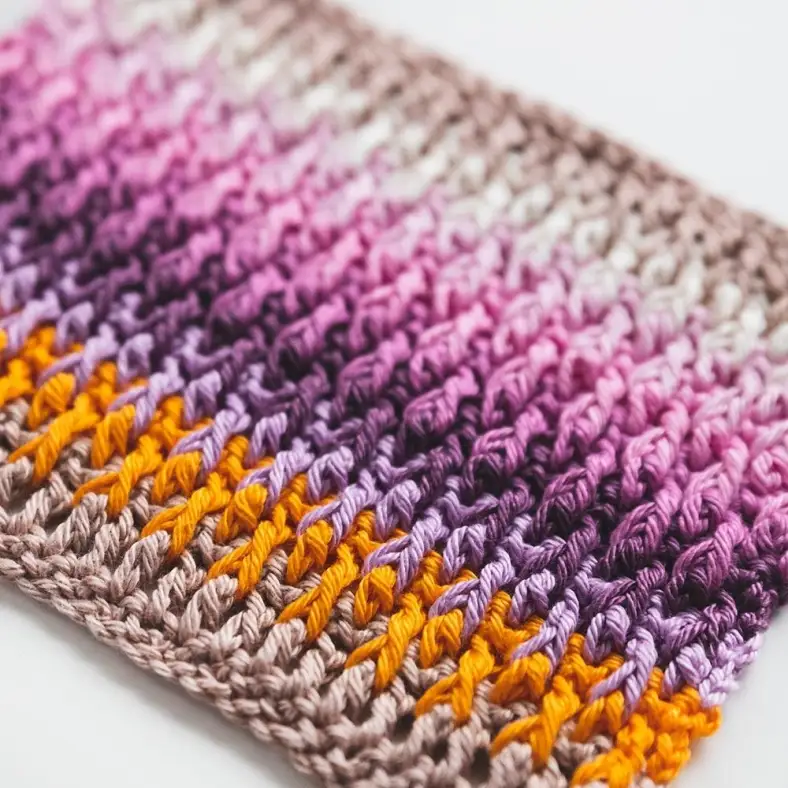
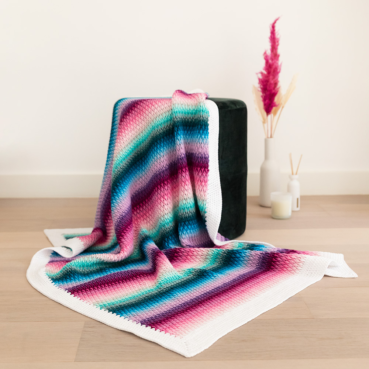
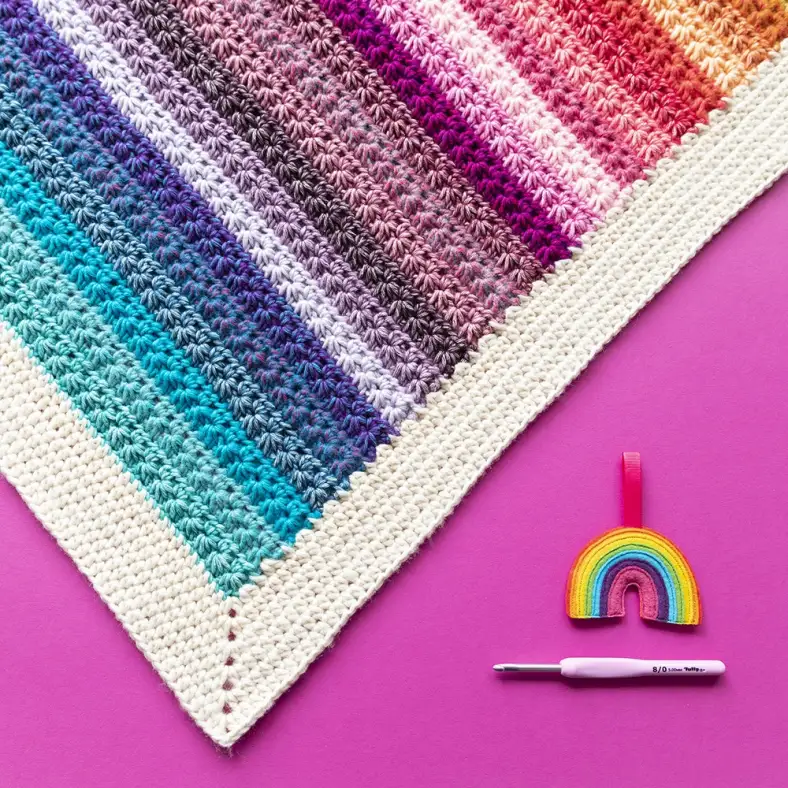
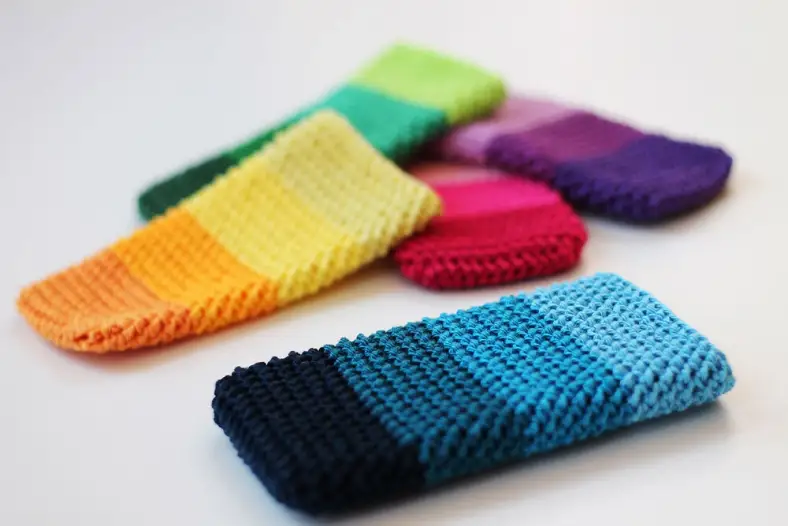
The Alpine stitch is a combination of regular dc’s and FPdc’s. By alternating this stitch pattern in rows you get a sturdy texture, that looks stunning in a gradient.
Alpine stitch multiple
Width: The stitch multiple is 2+1. That means that if you want to figure out how many stitches you need to start with, you can take a multiple of two stitches and add one. For example, 108 x 2 = 216, + 1 = 217. You could also make smaller stripes, for example, 77 x 2 = 144, +1 is 145 stitches.
Height: The pattern repeats every four rows, so any multiple of 4 will do!
Alpine stitch video tutorial
Alpine stitch tutorial
Base row
Start by joining your first colour with a ss in the first st. Make three ch (counts as a dc) and make one dc in each st to the end of your row. Chain one, turn your blanket and make one sc in each dc across. Cut your yarn and turn (photo 1). This is your base row, you will now start the alternating dc/FPdc pattern.

First row of repeat (alternating FPdc/dc)
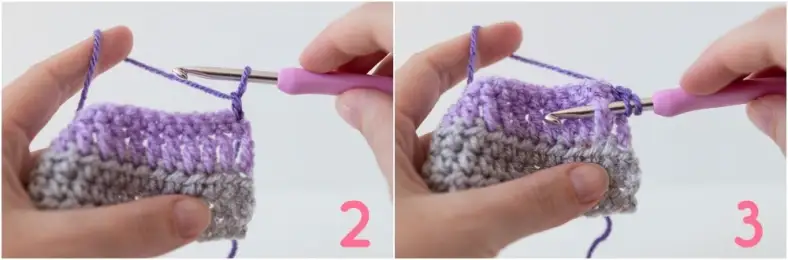
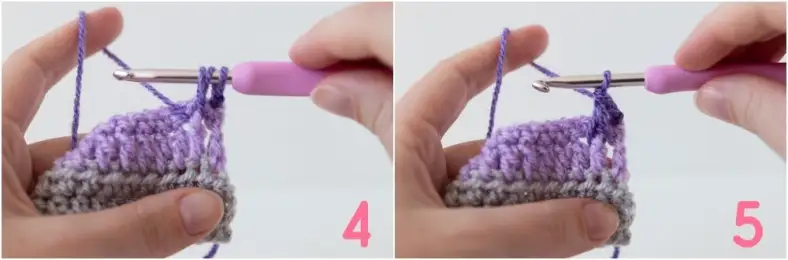
Join your next colour with a ss in the first st. Crochet two ch that count as your first dc (photo 2). Next, yarn over and insert your hook around the post of the next dc two rows below (photo 3). Yarn over again and pull up a loop (photo 4). Yarn over again, pull through the first two loops on the hook, yarn over once more and pull through the remaining loops on the hook to finish your dc (photo 5).
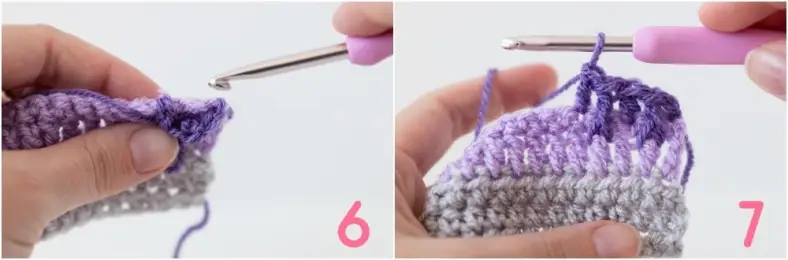
Now make a regular dc. Don’t forget to skip a stitch on your current row; otherwise, you’d start to increase your stitch count, and we don’t want that (photo 6)!
Continue alternating FPdc’s and dc to the end of your row, and finish with a hdc in the last stitch to prevent puckering (photos 7-8).

Second row of repeat (sc-row)
Chain one, turn your blanket and work a sc in each st all the way across (photo 9). Don’t forget the final ch2 also count as a dc, as it’s easy to miss! Cut your yarn and turn your blanket.

Third row of repeat (alternating dc/FPdc)
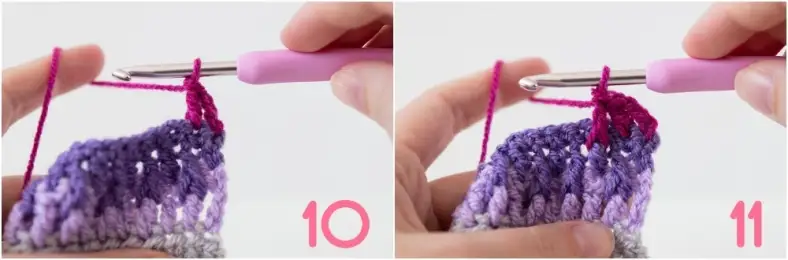
Next, join your next colour and make two ch to form your first dc. Instead of a FPdc, make a dc in the next stitch (photo 10). This is to offset the stitch pattern by one stitch and allows you to make this row’s FPdc’s in between the previous row’s FPdc’s.
Crochet a FPdc around the regular dc two rows below, and skip a stitch on your current row. Next, make a regular dc. Keep alternating FPdc’s and dc’s to the end of the row. When you have two stitches remaining, make one dc and one hdc to end your row (photo’s 11-12).

Fourth row of repeat (sc-row)
Make a chain, turn your blanket and make sc’s all the way across the row. Cut your yarn and turn your blanket (photo 13). Keep repeating these four rows to create a beautiful gradient (photos 14-15).

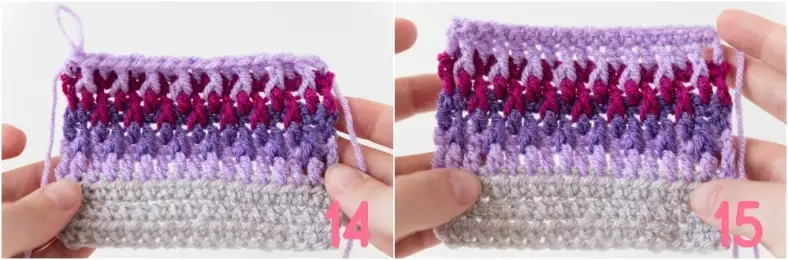
This how you crochet your Alpine stitch!
Colour gradients
As I said, the Alpine stitch works best with a colour gradient. There's no maximum amount of colours that you can use, but I would recommend using at least three different colours to make sure the FPdc's don't 'dip' into the same colour. But if you ask me, more is better.
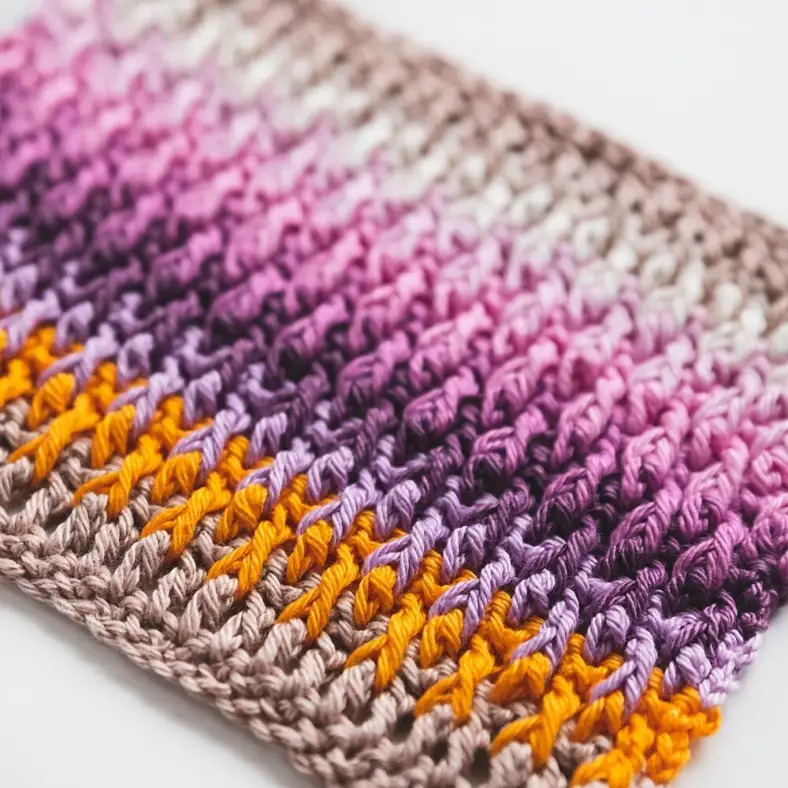
By the way, you can easily get away with bold colour differences for your gradient as the dropped stitches automatically blend the colours. You can see what I mean in the image below, how the contrast between yellow and purple is diffused because of the FPdc's. For this sample, I used eight different colours. For my Alpine stitch blanket, I used no less than 22!
Patterns using this stitch
More tutorials
Comments
Be the first to comment to this post!