

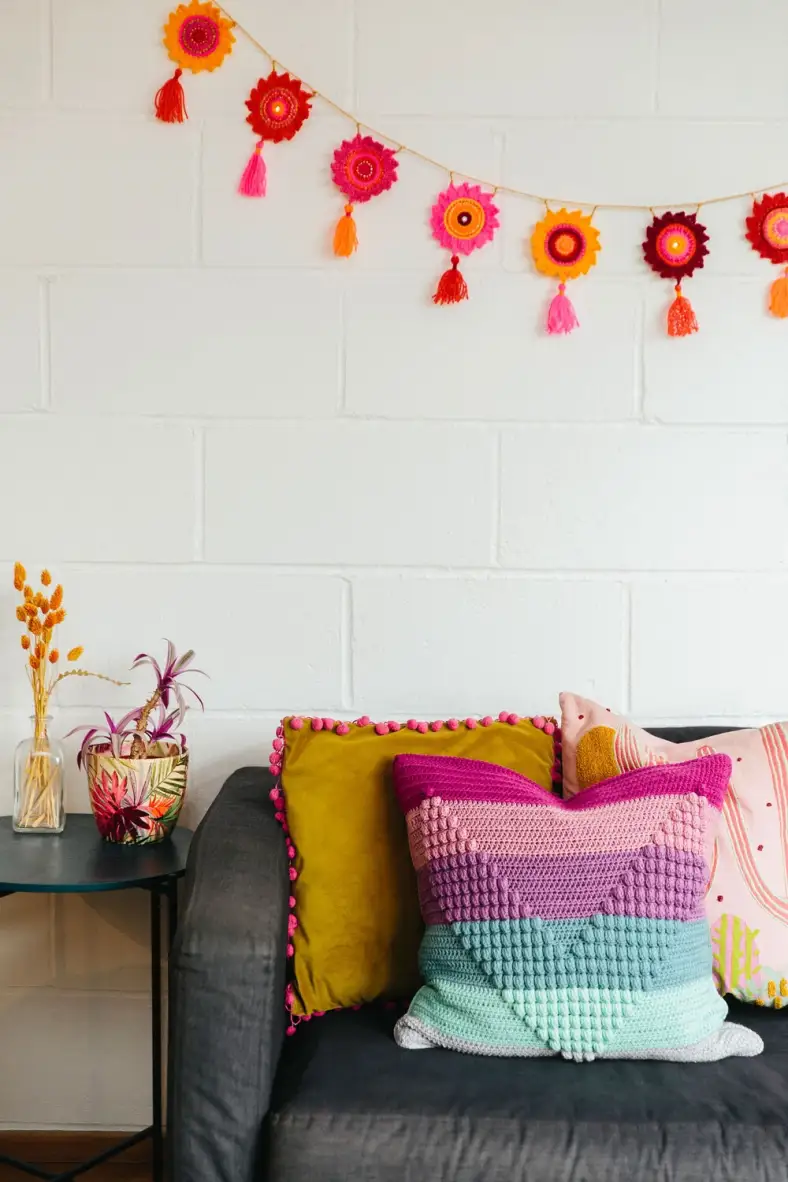
No matter which way you’re going, the rhythmical popcorn pattern on the Walk this Way pillow will soothe your mind and keep your hands busy.
Gentle stripes on the background create an interesting cushion that will be an eye-catcher in every room. The pattern is easy to follow and suitable for advanced beginners.
Materials and preparation
Yarn
| Label | Colour name | Code | Amount |
|---|---|---|---|
| Colour A | Carney | 636 | 2 balls |
| Colour B | Copley | 634 | 2 balls |
| Colour C | Monet | 639 | 2 balls |
| Colour D | Ernst | 653 | 2 balls |
| Colour E | Botticelli | 628 | 2 balls |
| Colour F | Michelangelo | 603 | 2 balls |
Other materials
- 50 x 50 inner pillow (19¾ x 19¾ in)
- Button 3 cm diameter x5
Shop the yarn!
You can find Merino Soft at Scheepjes retailers, such as:
Crochet hook
4mm (US Size G/6)
Measurements
Cover fits a 50 x 50 cm pillow (19¾ x 19¾ in)
Gauge/tension
16.5 hdc x 14 rows measure 10 x 10 cm on a 4mm hook
Abbreviations (US terms)
- cc
- colour change: Always happens in the st before change as follows: work st up to final yarn over in old colour, yarn over in new colour and pull through. This way, you have a finished stitch in the old colour and a loop on your hook in the new colour
- ch
- chain
- ch-sp(s)
- chain space(s)
- hdc
- half double crochet
- popc
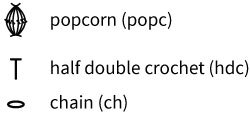
- popcorn: 6 double crochet in same st, remove hook from loop, insert hook from front to back through first st, pick up loop again, pull through loop on hook to close popcorn
- RS
- right side
- sc
- single crochet
- st(s)
- stitch(es)
- WS
- wrong side
Repeat formats
- *….; rep from * once/twice/3x — Crochet the instructions after * and then repeat that section a further number of times as indicated.
- (…) once/twice/3x — Crochet the instructions between brackets the total number of times indicated.
- […] — Indicates the amount of stitches at the end of a row or round.
Notes
You'll be working this pillow in parts. First, you crochet and border the Front. Next, you crochet two separate back pieces. These backpieces are positioned on top of each other to create the button flap and crocheted together with a border round. Finally, you crochet both Back and Front together with a final border.
Crochet pattern
Pillow Front
With Colour A, ch76.
From here on, every even row is a Row 2 repeat, and will not be written out in the pattern unless instructions differ.
Weave in all ends.
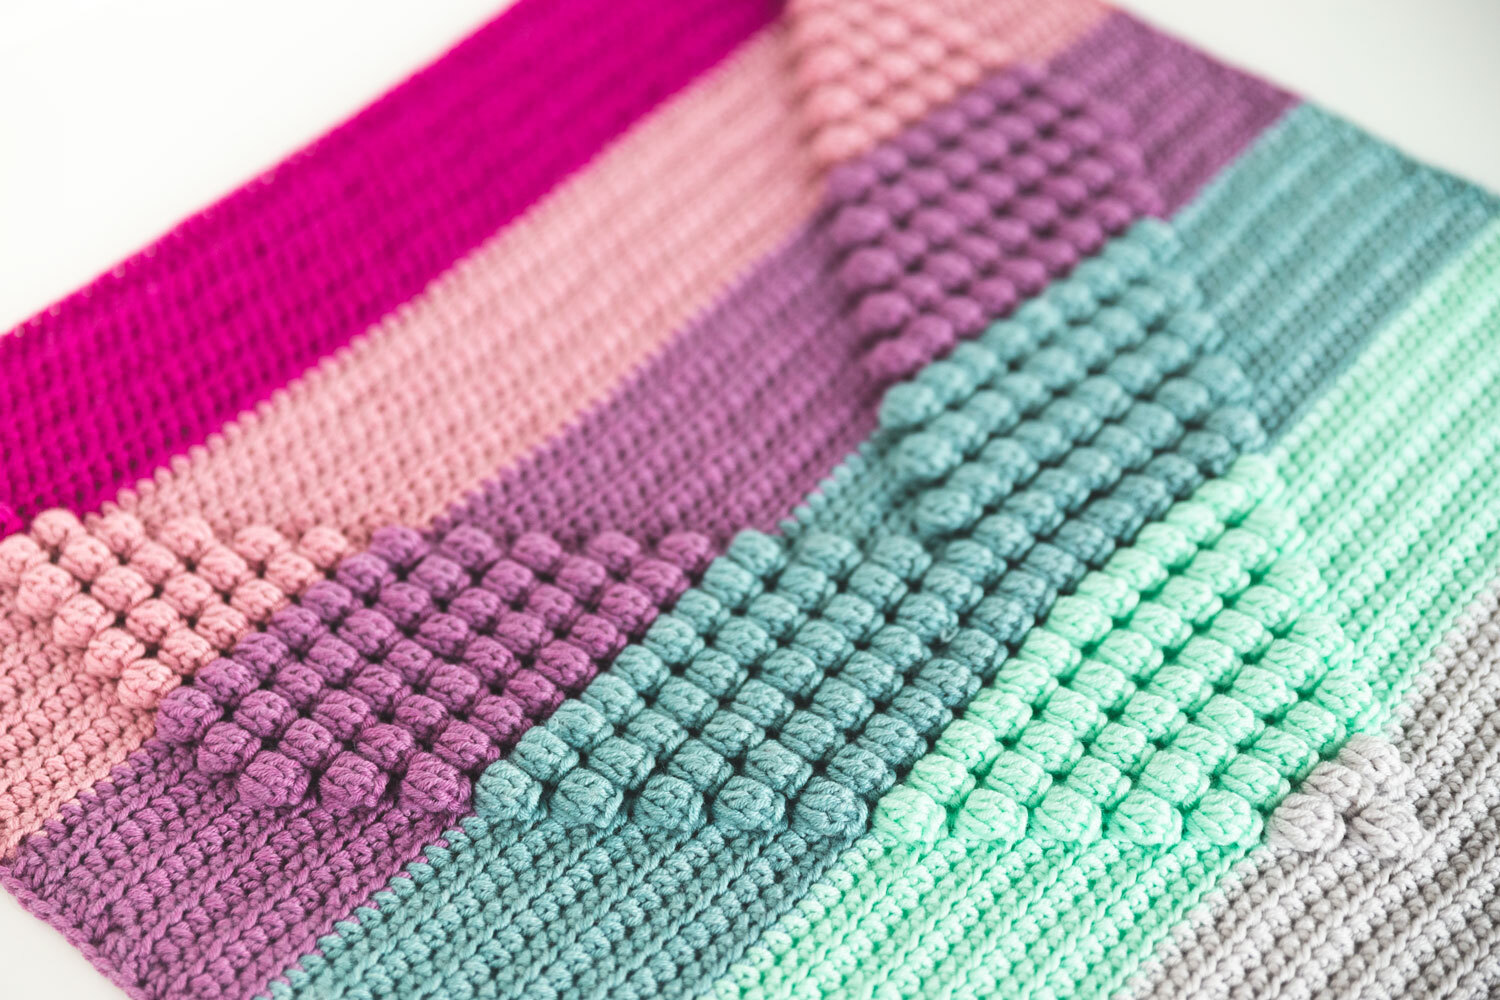
Front Border
Please note: you’ll be working this round in the same colour as the underlying stitches. Refer to the row you’re crocheting in to see to which colour you’re changing.
Block cover to 48 x 48 cm (19 x 19 in).
Back (Small part)
With Colour A, ch76.
Weave in ends.
Back (Large part)
Weave in ends.
Back Border
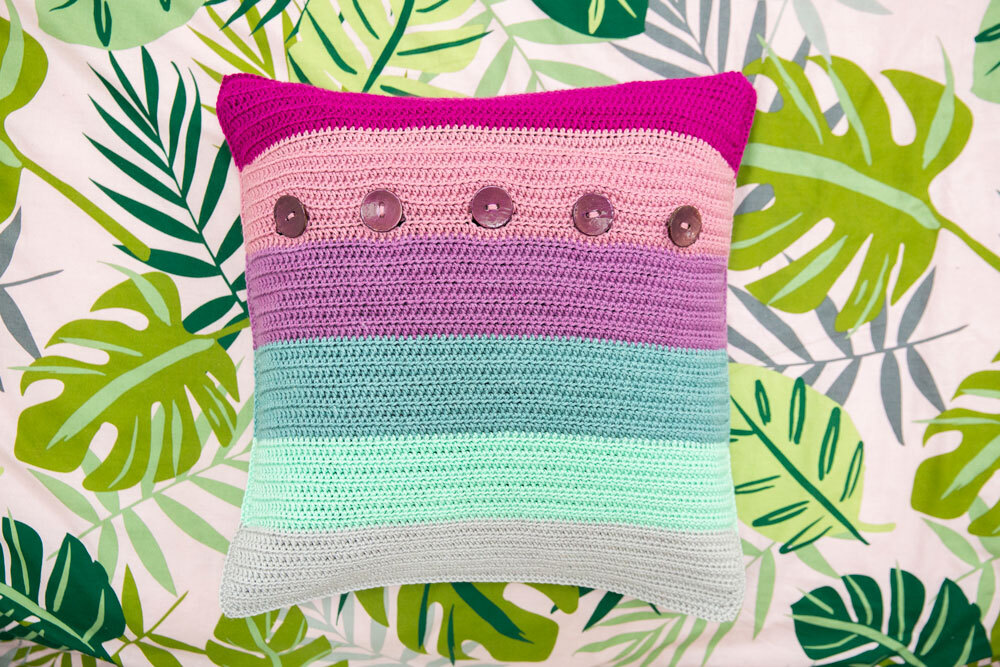
Place Large part on top of Small part and make sure only sections of Colour B overlap. Repeat Front border starting in Row 41 of Large part. When you reach cc to Colour B, make sure to crochet through stitches of both edges of Small and Large part. This creates one solid Back piece. Block to size as for Front border. Sew buttons on Small Part aligning with buttonholes on Large part. [75 hdc on top and bottom sides, 96 hdc on left and right side,4 ch-1 sps]
Assembly
You’ll be working this round in the same colour as the underlying stitches. Refer to the row you’re crocheting in to see to which colour you’re changing.
Place covers with WS together. With Front cover towards you, join Colour A with ss in colour change from A to B on left side of pillow. Ch1, 1sc in same st, 1sc in each st towards corner, (1sc, ch2, 1sc) in corner space, 1sc in each st to next corner, (1sc, ch2, 1sc) in corner space, *1sc in each st to colour change, cc; repeat from * another 4 times, cc, 1sc in each st to corner space, (1sc, ch2, 1sc) in corner space, 1sc in each st to next corner, (1sc, ch2, 1sc) in corner space, *1sc in each st to colour change, cc; repeat from * another 4 times, joining with ss in first st on last colour change. [77 sc on top and bottom sides, 98 sc on left and right side,4 ch-2 sps]
Fasten off, weave in ends.
Adjusting the size of the pillow
If you want to change the size of the pillow, it’s best to add or remove entire rows and stitches of hdc instead of changing the actual popcorn pattern to avoid complicated changes. Make sure to keep a row of hdc in between popcorn rows.
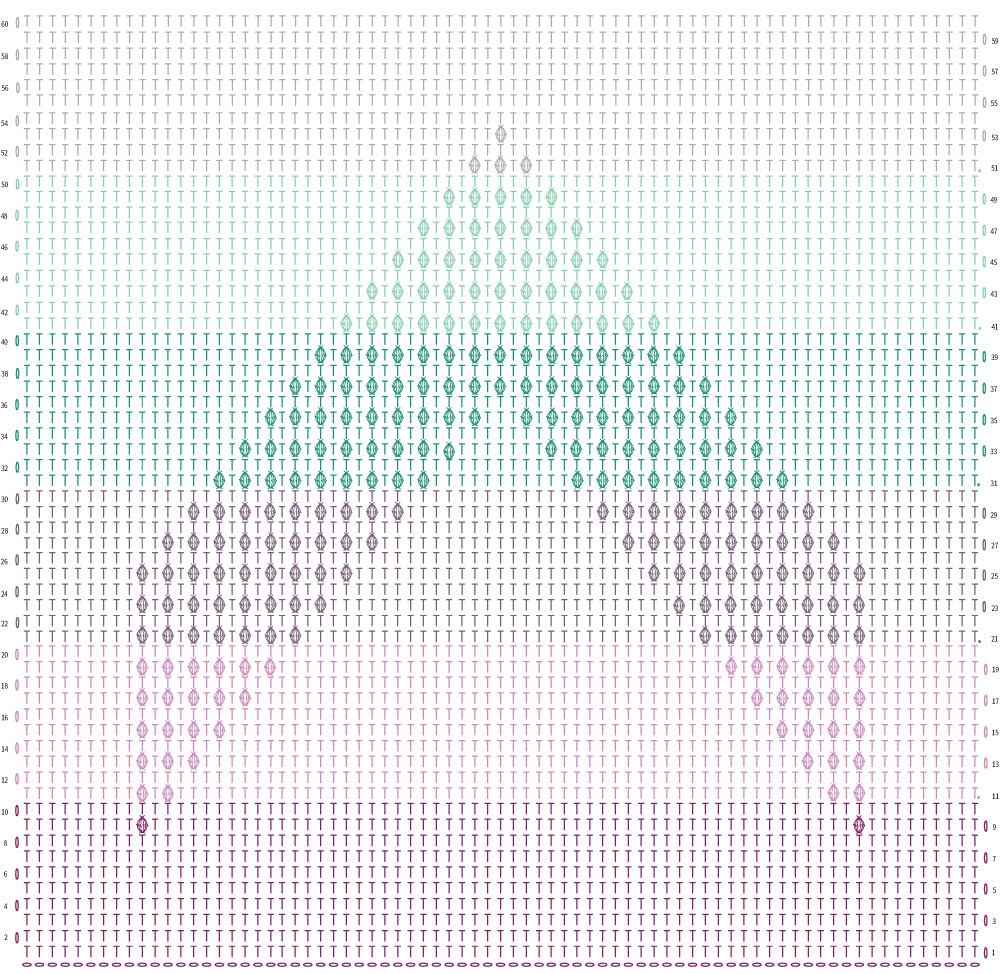
If you really want to change the popcorn pattern and make the chevron bigger, I would suggest using the crochet diagram to draw out where you want to add (or delete) popcorns and work from those drawn instructions.
Diagrams
You might also like
Comments
Be the first to comment to this post!