Haak Maar Raak home
TutorialHow-to

Wave stitch tutorial

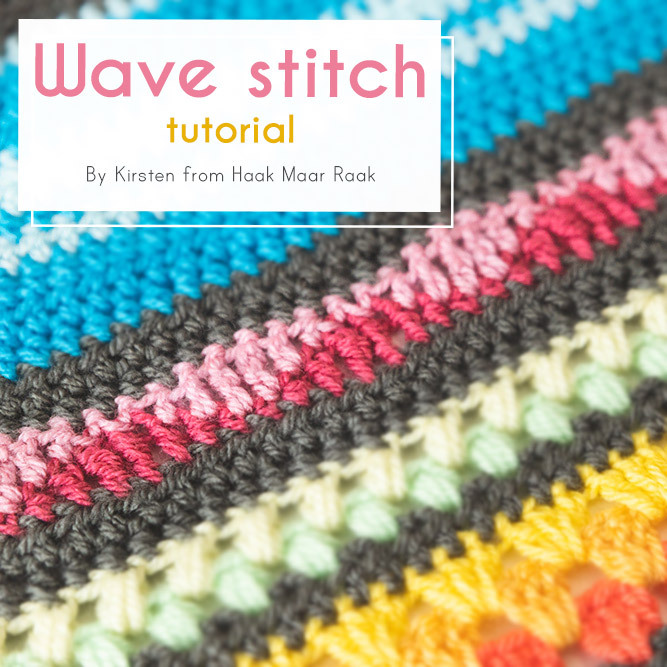
The wave stitch is a combination of stitches with different heights. By crocheting the first row in waves, and the second row in ‘anti-waves’ you create a wave row.

KirstenLast updated: 6 Aug 2026
Wavestitch
golfsteek tutorial

Wave stitch tutorial

Note for sampler: This stitch is worked a multiple of 8, and we have 241 stitches (145 in the Baby version). Because of this, we’ll have one stitch too many after finishing the final wave. So we’ll crochet an extra sc (and in the next row, the ‘anti-stitch’) to sort this out.

Join your yarn with a ss in the first stitch. Crochet a ch and sc in the same stitch as your ss. Next, crochet a hdc, dc, two tr, dc, hdc and sc. This is a wave (photo 1,2). Repeat this until the end and crochet one extra sc (photo 3). Cut yarn and turn your blanket.

Join your new colour with a ss in the first stitch (that’s the final sc of the previous row). Crochet four ch that count as tr. Crochet a tr in the next sc, a dc in the hdc, a hdc in the dc, and a sc in the tr. This is the first half of your anti-wave, and you see the height difference is cancelled out now (photo 4). Crochet a sc, hdc, dc and tr. This is your first complete anti-wave. Continue like this to the end, cut your yarn and turn your blanket (photo 5).

Wave stitch tutorial photo ( 1 + 2 )
Wave stitch tutorial photo ( 3 + 4 )
Wave stitch tutorial photo ( 5 )
Use this stitch

Patterns using this stitch

Keep learning

More tutorials

Comments

Be the first to comment to this post!

Stay in the loop

New posts & patterns,
straight to your inbox.

Join the Haak Maar Raak community and get new blog posts, free patterns, and the occasional yarn find delivered to your inbox.

  • New patterns before they go public
  • Free PDF guide to blocking
  • Honest yarn reviews & inspiration

Join the newsletter

Free, friendly, and easy to unsubscribe.

No spam. Unsubscribe any time!

Kirsten
KirstenCrochet designer at Haak Maar Raak