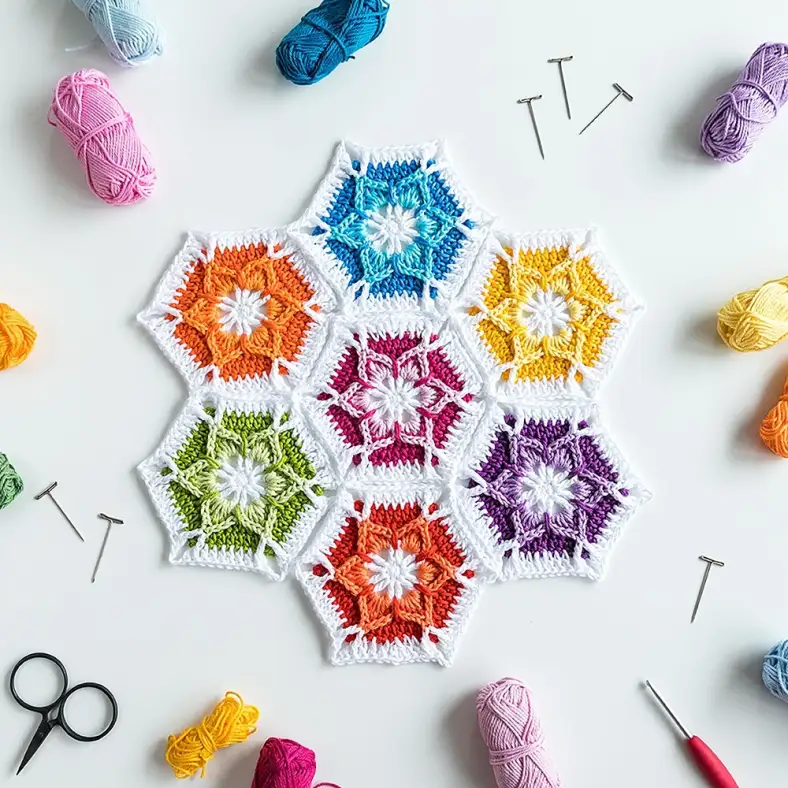
Today I'm showing you one of my favourite finishing techniques: the one that makes your join look neat without much extra effort!
The invisible stitch is a different way to join crochet rounds or rows. Traditionally, most patterns close a round with a slip stitch (mine included). It's okay; it works, but sometimes the join can be obvious. Also, it's sometimes difficult to keep the correct stitch count because you have to make sure not to crochet into the slip stitch when you make your next round or join.
There's an easier way: the invisible stitch. It's a method that uses your yarn end to join the first and last stitch of a round together in a way that's indistinguishable from a regular crochet stitch. All it involves is a bit of insight and a needle.
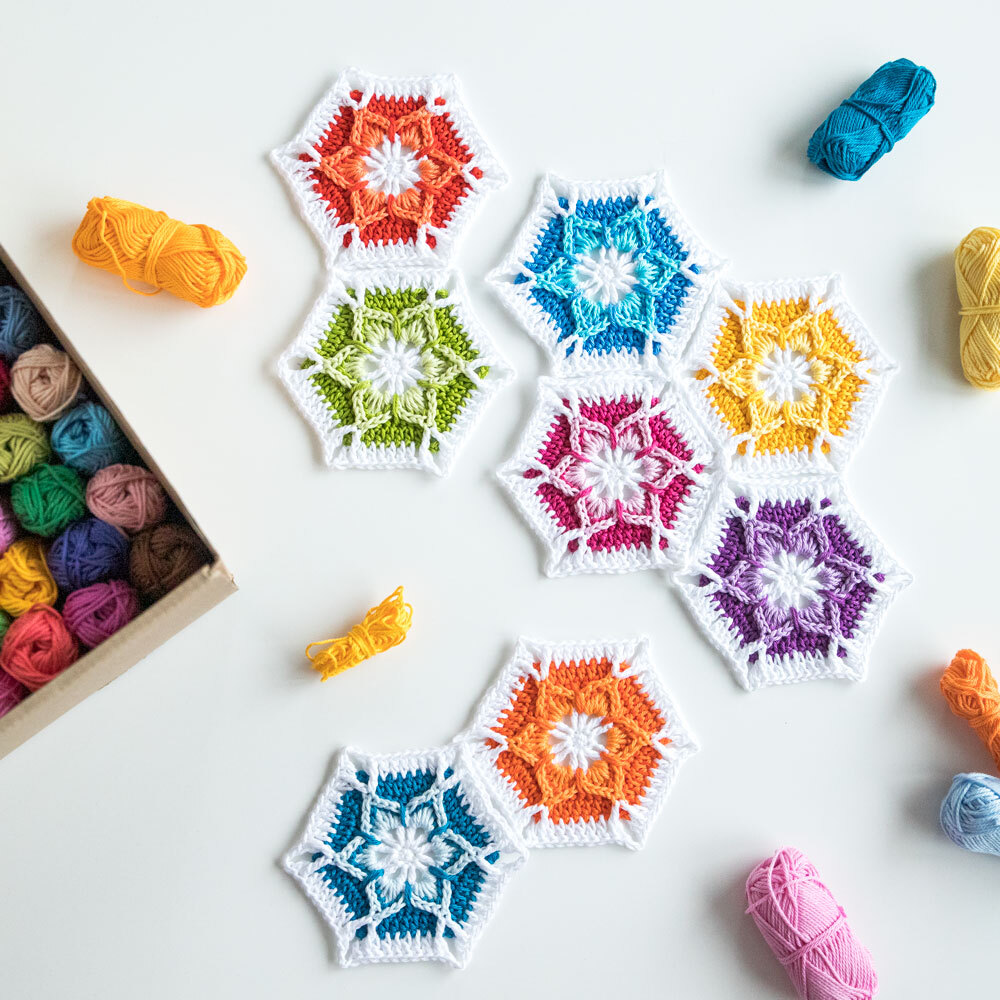
Video tutorial for invisible stitch
Materials
- Project
- Sharp needle
When can you use it
- As finishing round for any project
- As finishing round for motifs that need to be joined later
How it works
- Cut your yarn after the last stitch of your round. Pull out the loop to get a yarn end, and thread it onto a sharp needle.
- Find the first stitch of the round. NB: This needs to be the first proper stitch. If the pattern calls for a few chains to start your round but states that they do not count as a stitch, then skip these chains.
- Insert your needle in the top from the front to the back of the SECOND stitch (so the stitch to the left of your first stitch). Then insert it back into your last stitch. You’re making a top loop that looks just like the top of the crochet stitch.
- Weave in the loose end.
That's it! by using this method, your joining will show way less. For motifs, it also makes it easier to join them together afterwards, as you won't have one funny side with a slip stitch in it.
More tutorials
Comments
Be the first to comment to this post!