

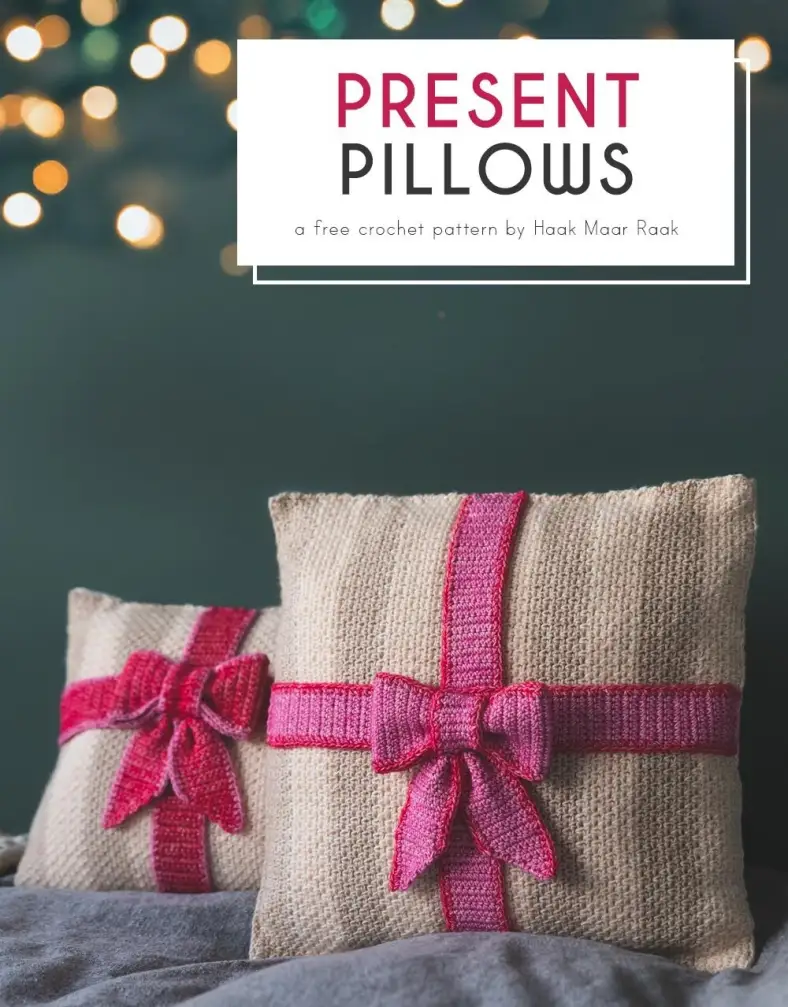
The Present pillows are quirky crochet cushions that look like a thoughtful gift wrapped with love. The bow absolutely steals the show, being both luscious and colourful! Give any pillow a makeover with this pattern, as the measurement instructions work for every size.
Materials and preparation
Yarn
| Label | Colour name | Code | Amount |
|---|---|---|---|
| Colour A | Axinite | 831 | 3 balls |
| Colour B | Moonstone | 801 | 3 balls |
| Colour C | Red Jasper | 807 | 1 ball |
| Colour D | Tourmaline | 836 | 1 ball |
Shop the yarn!
Do you want to get your Scheepjes Stonewashed? You can find it at these online retailers:
Crochet hook
4.0mm hook (US size G/6)
Measurements
Rectangular pillow cover fits 30 x 50 cm (12 x 20 in) pillow.
Square pillow cover fits 40 x 40 cm (16 x 16 in) pillow.
Gauge/tension
20 sts x 22 rows measure 10 x 10cm (4x4 in)
Abbreviations (US terms)
- ch
- chain
- ch-sp
- chain-space, space below chains
- RS
- right side
- sc
- single crochet
- sc2tog
- single crochet 2 stitches together: insert hook in first st, yarn over, pull up loop, insert hook in second st, yarn over, pull up loop, yarn over, pull through all loops on hook.
- ss
- slip stitch
- st(s)
- stitch(es)
- WS
- wrong side
Repeat formats
- *….; rep from * once/twice/3x — Crochet the instructions after * and then repeat that section a further number of times as indicated.
- *…; rep to end — Crochet the instructions after * and then repeat that section to the end of the row or round.
- (…) once/twice/3x — Crochet the instructions between brackets the total number of times indicated.
- […] — Indicates the amount of stitches at the end of a row or round.
Notes
Note that the moss stitch gauge can vary heavily depending on your personal tension. I suggest measuring the cover piece after eight rows to see how your gauge works out, and adjust the starting chain if necessary.
Crochet pattern
Rectangular pillow
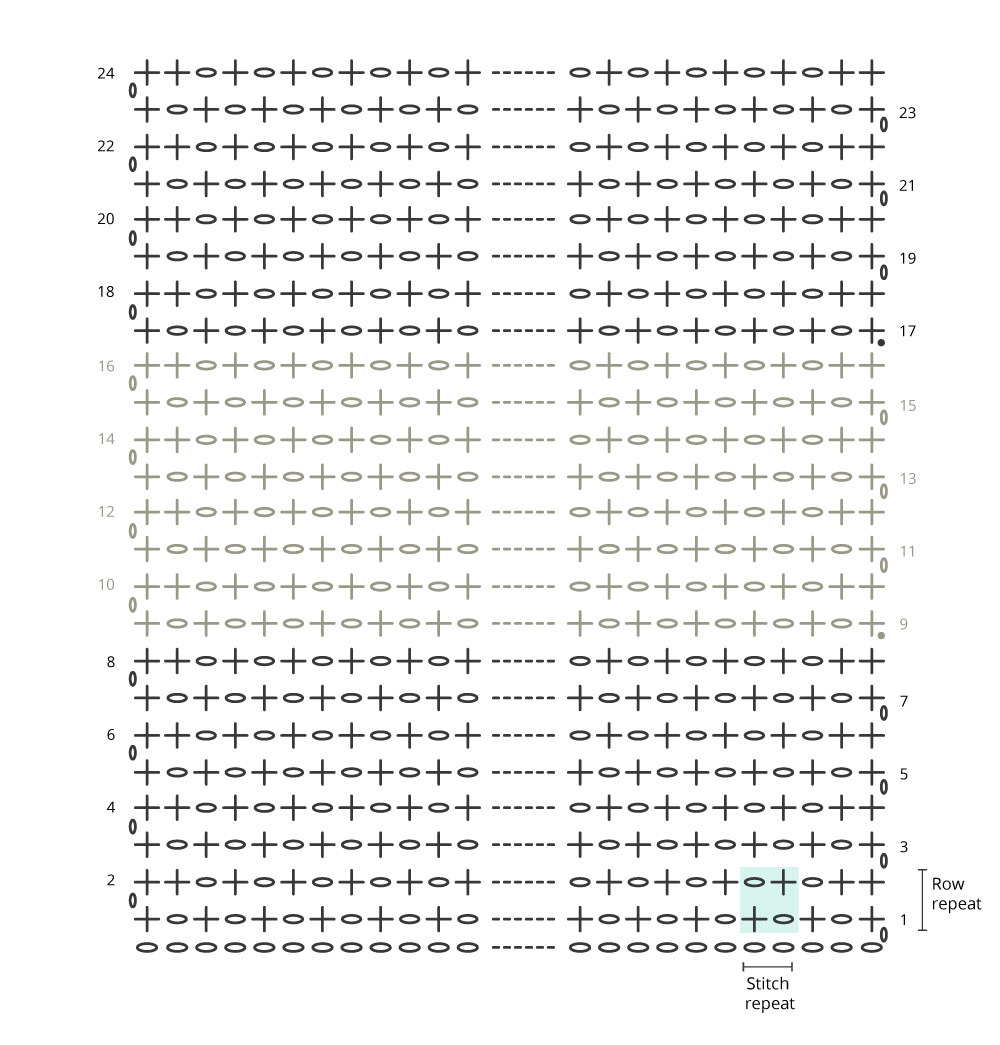
With Colour A, ch66.
Rows 2-3 form the pattern repeat.
Check the width of the piece after eight rows. The moss stitch tends to shrink. It can be stretched quite easily in length, but less so in width. So make sure that after eight rows, your cover measures approximately 2cm (¾in) narrower than the pillow. If it’s not the right size, add or remove multiples of 2 to the beginning chain to adjust the width.
Keep alternating Colours A and B every eight rows. Repeat the pattern as set for Rows 2-3 until the piece measures approximately 2cm (¾in) smaller than the pillow. Fasten off any yarn tails.
Square Pillow
With Colour A, ch84.
Rows 2-3 form the pattern repeat.
Again, check the piece's width after eight rows.
Keep alternating Colours A and B every eight rows. Repeat the pattern as set for Rows 2-3 until the piece measures approximately 2cm (¾in) smaller than the pillow. Fasten off any yarn tails.
Gift Wrap
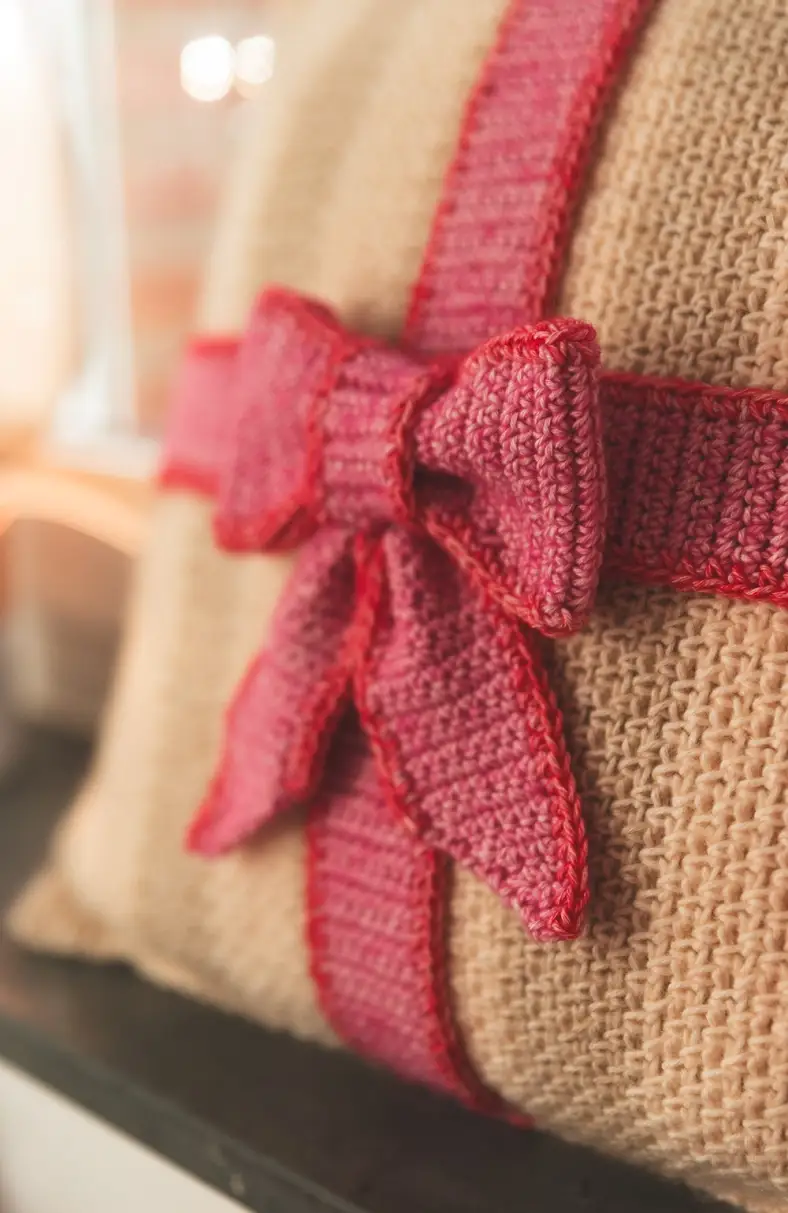
The gift wrap is made with Colour C and D. For one pillow, use Colour C as the main colour and Colour D as contrast, and for the other pillow, do the opposite. Fasten off the tails of the Contrast Colour after you’ve finished a piece. I used the Main Colour tails to assemble the bow and/or sew the pieces onto the pillow.
I found it easiest to first sew the moss stitch body onto the pillow, then crochet the ribbons. This is because the ribbons stretch. For example, I made mine ~33cm (13in) for the 40cm (16in) cover and stretched them to size when sewing them on.
Ribbon
Make two ribbons to pillow size: one horizontally, one vertically.
With Main Colour, ch9.
Repeat Row 2 until you reach the desired length. Omit last ch1 and cut yarn.
Bow
With Main Colour, ch9.
Bow ends
Make two bow ends. With Main Colour, ch9.
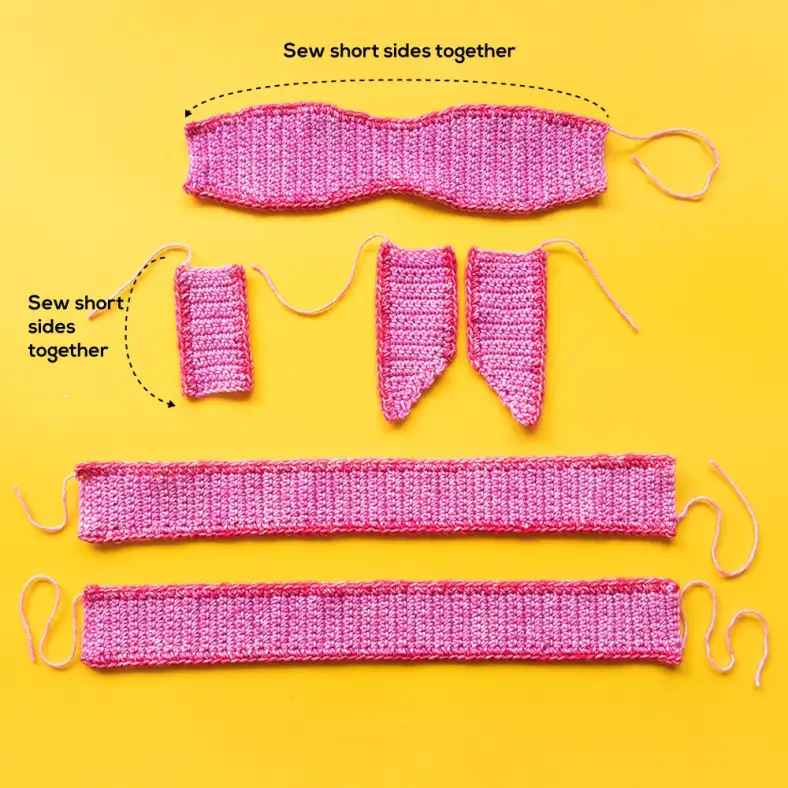
When making the contrast row for your second bow end, do this on the WS (mirrored) side of the piece. This way, when you sew the ends to the bow, they’ll be mirrored with the RS of the contrast row facing you for both ends.
Bow tie
With Main Colour, ch8.
Using the tie’s starting or ending tail, sew the short ends together to form a tube. Weave in any remaining yarn tails for this piece.
Assembly
Bow
Take your bow tie and slide it over the bow to cover your seam. It should fit snugly, giving the bow a nice little scrunch. Next, take your bow ends. Make sure the diagonal ends are mirrored. Scrunch them up a little bit at the top where they meet the bow and sew them to the back, making sure that the points flair outwards a bit. Weave in all yarn tails.
Cover
Pin the cover to the pillow. Then, using a matching sewing thread and small stitches, sew the cover on the casing.
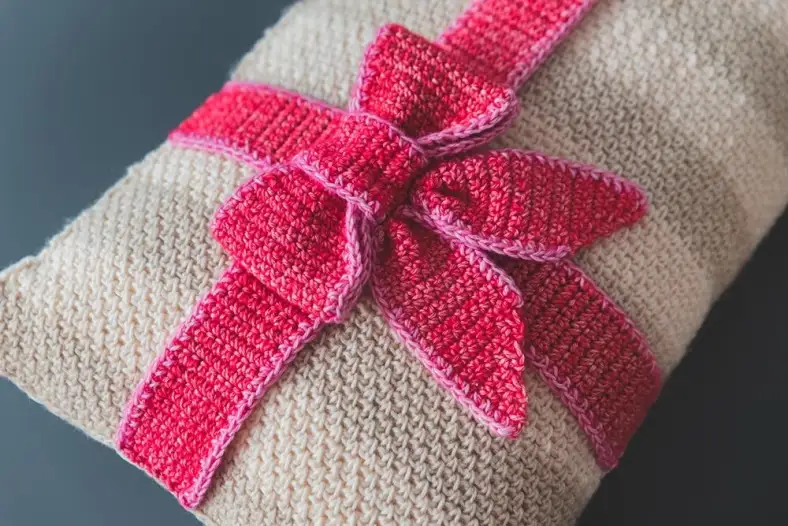
Next, sew on the ribbons. For the rectangular pillow, I sewed the ribbon ends on at approximately one third of each side, using the main colour tails to fasten them to the crochet sides of the cover. For the square pillow, I sewed them on in the middle of each side.
Finally, take your bow and sew the backside of the bow to the intersection of the ribbons. I sewed through the ribbons into the crochet cover for extra security. Weave in any remaining yarn tails.
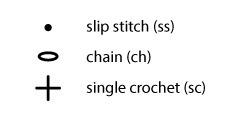
Diagrams
You might also like
Comments
Be the first to comment to this post!