

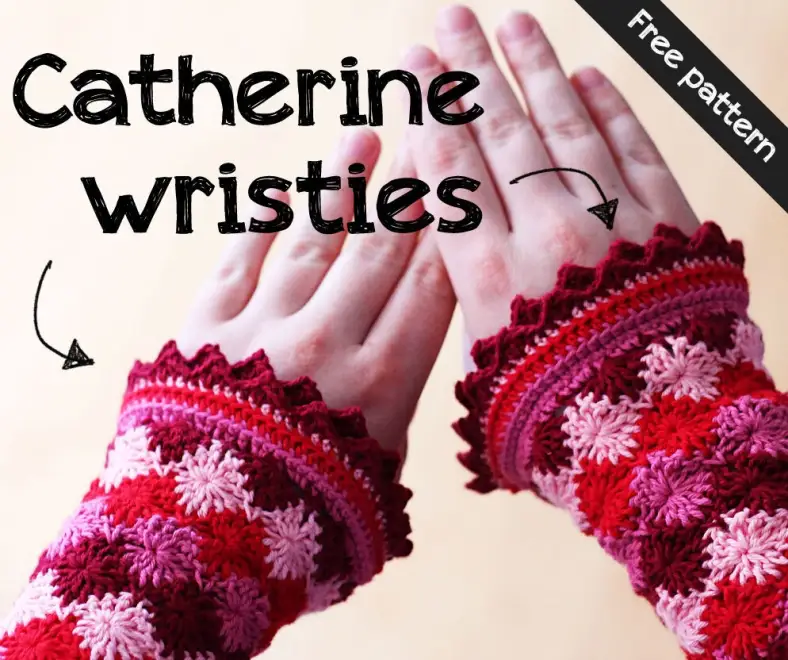
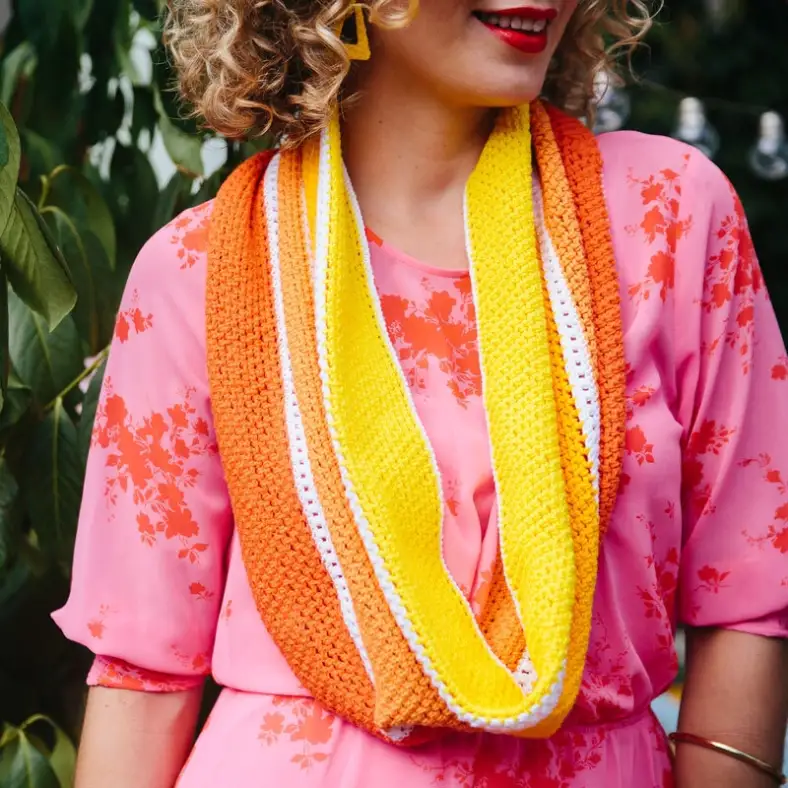
Today I want to share with you the pattern for the Catherine Wristies. They match the Catherine cowl perfectly and make a great pair!
Materials and preparation
Yarn
| Label | Colour name | Code | Amount |
|---|---|---|---|
| Colour A | 717 | 1 ball | |
| Colour B | 653 | 1 ball | |
| Colour C | 510 | 1 ball | |
| Colour D | 654 | 1 ball |
Shop the yarn
You can find Cotton 8 at Scheepjes retailers, or webshops such as:
Crochet hook
3.5mm (US size E/4)
Measurements
18cm (7in) in height, fits wrist circumference of 21cm (8.25in).
Gauge/tension
Not critical
Abbreviations (US terms)
Repeat formats
- *….; rep from * once/twice/3x — Crochet the instructions after * and then repeat that section a further number of times as indicated.
- *…; rep to end — Crochet the instructions after * and then repeat that section to the end of the row or round.
- (…) once/twice/3x — Crochet the instructions between brackets the total number of times indicated.
- […] — Indicates the amount of stitches at the end of a row or round.
- (…) in same st/sp — Indicates that all instructions between brackets are worked in the same stitch or space.
Crochet pattern
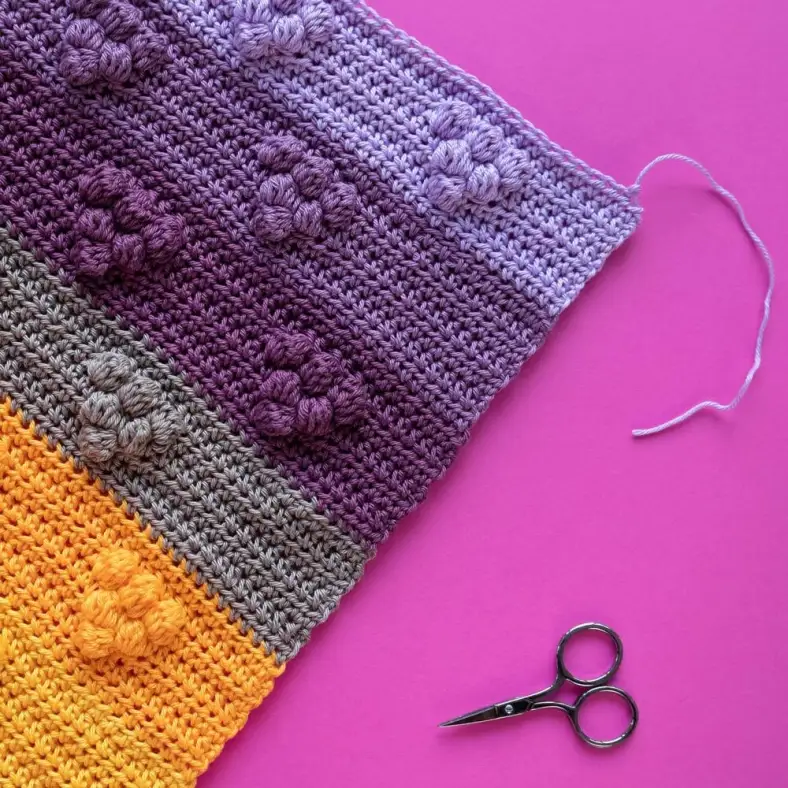
In the tutorial for the Catherine Cowl I included a photo tutorial on the Catherine wheel. You can follow this tutorial (including colours). The only thing that differs is the starting chain. For the wristies you start with 49 chains (48 + 1 turning chain), and you’ll end with 49sc in Row 1.
If you’d like your wristies larger in circumference, you can add a multiple of 8 stitches (so 48+8, 48+16 etc). The other way around, making the wristies smaller, works exactly the same. Keep in mind that this stitch doesn’t stretch very much! The chain circumference (without stretching it) is pretty accurate for how wide your wristies will be.
Follow the Catherine cowl tutorial until your wristies are approximately 10-12cm (4-4.75in) in length. This depends on your personal preference and wrist shape. For me, this took 6 rows of complete wheels (+ the first row of half wheels). If you reached this length, you can follow the Cowl tutorial for the top row, where you’ll secure the top side half wheel-row. Now you’ll have a piece with straight edges, and we can continue with the edging!
Edge
Please note: unless otherwise indicated, crochet through both loops.
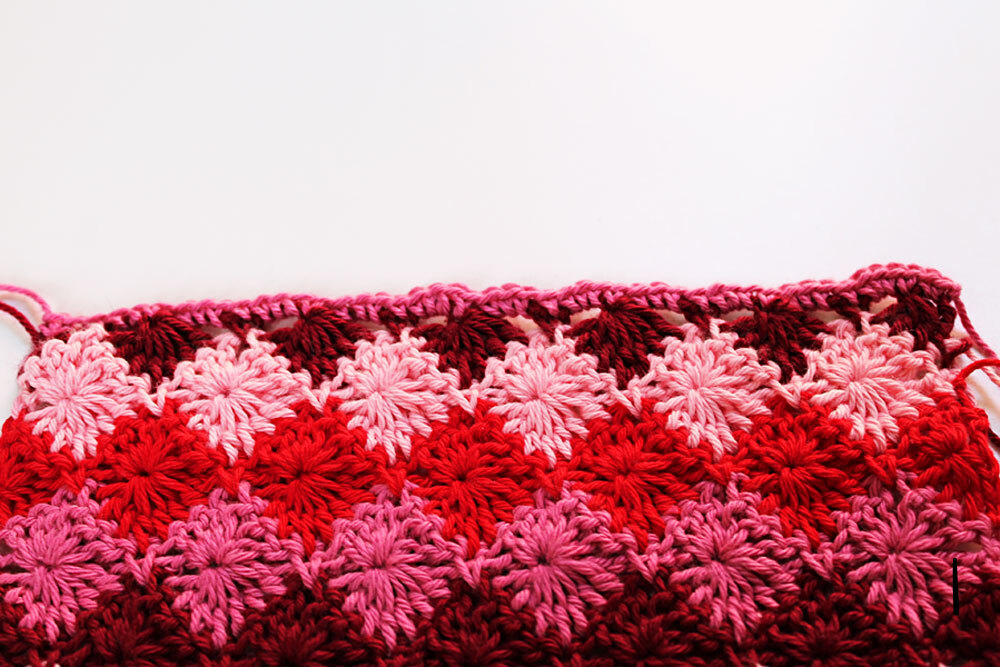
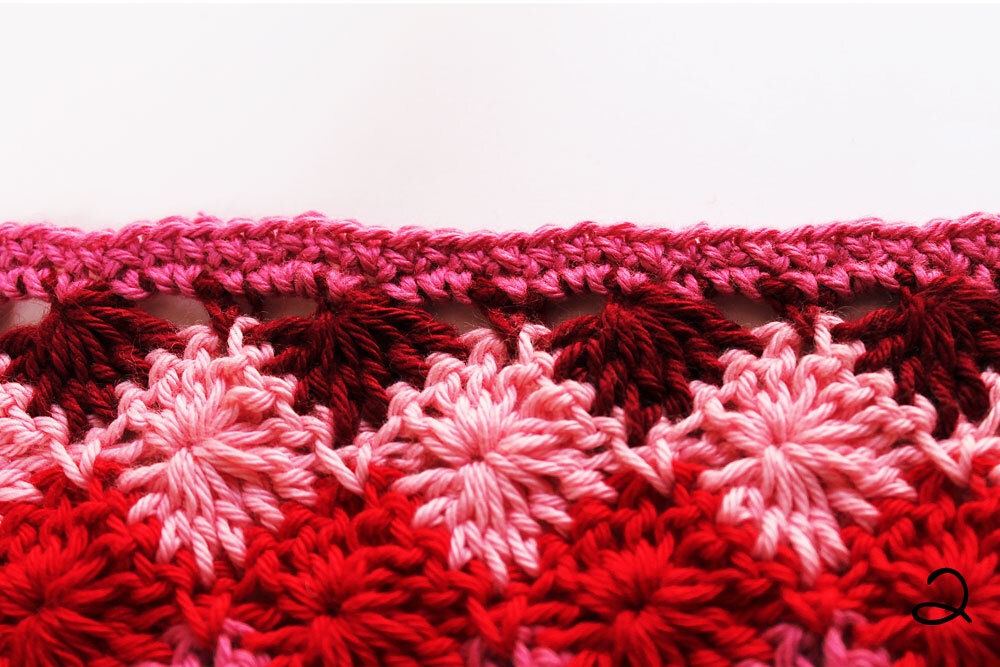
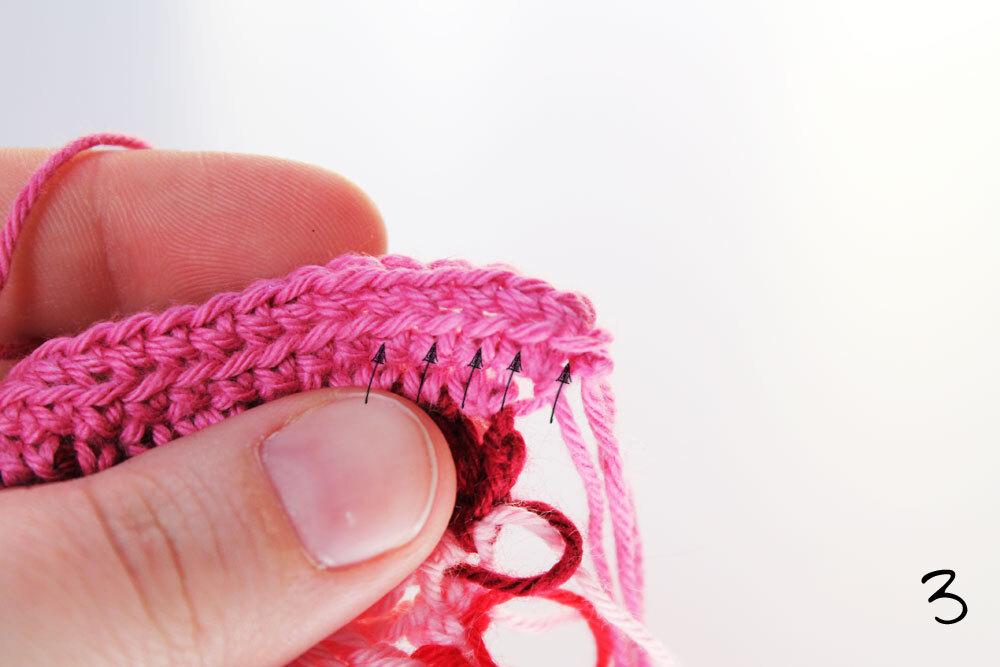
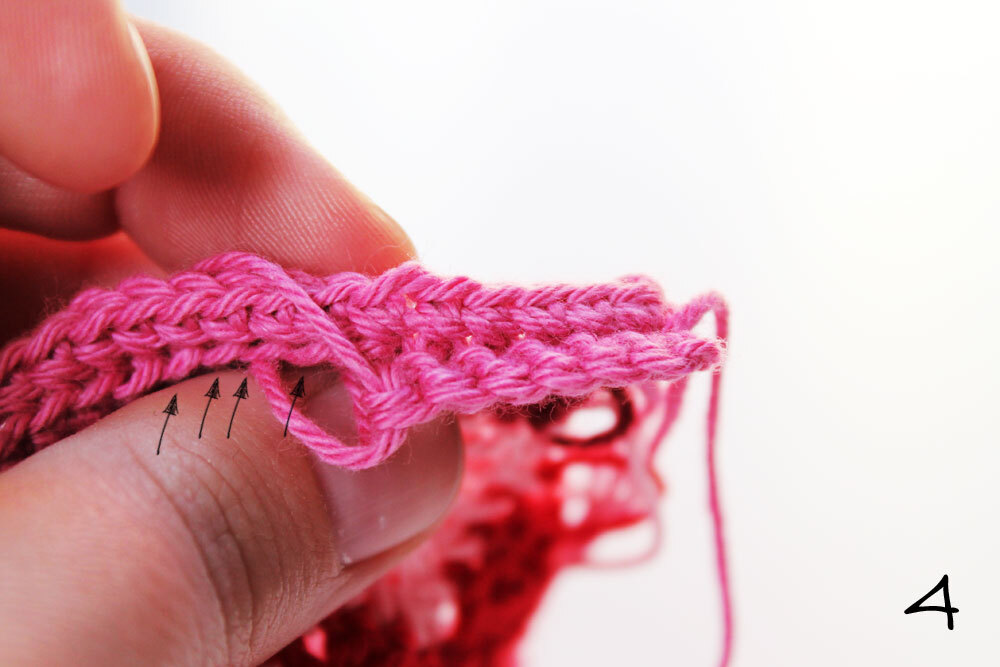
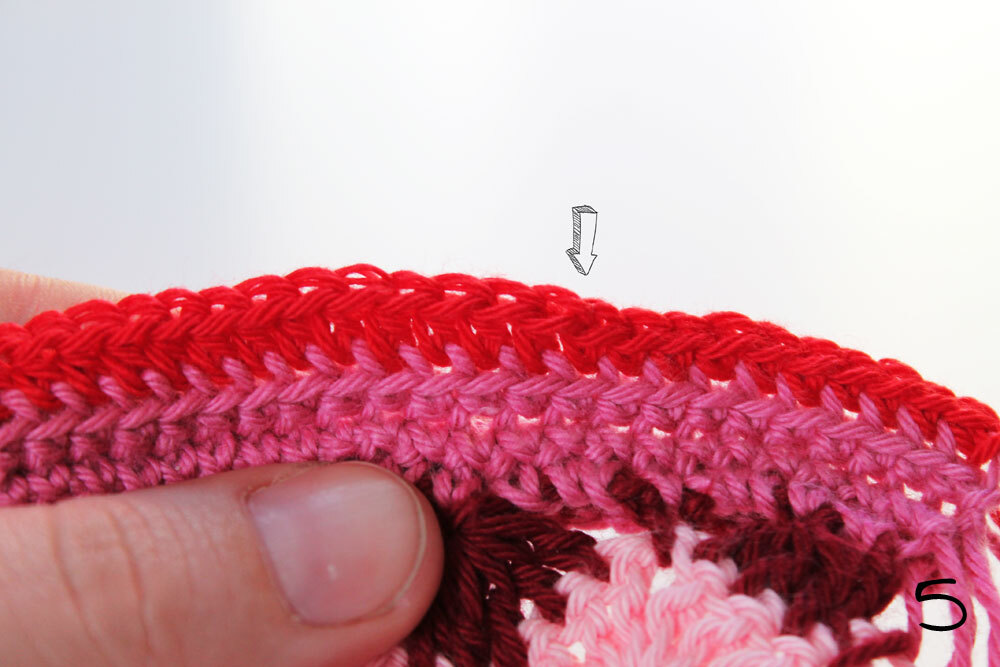
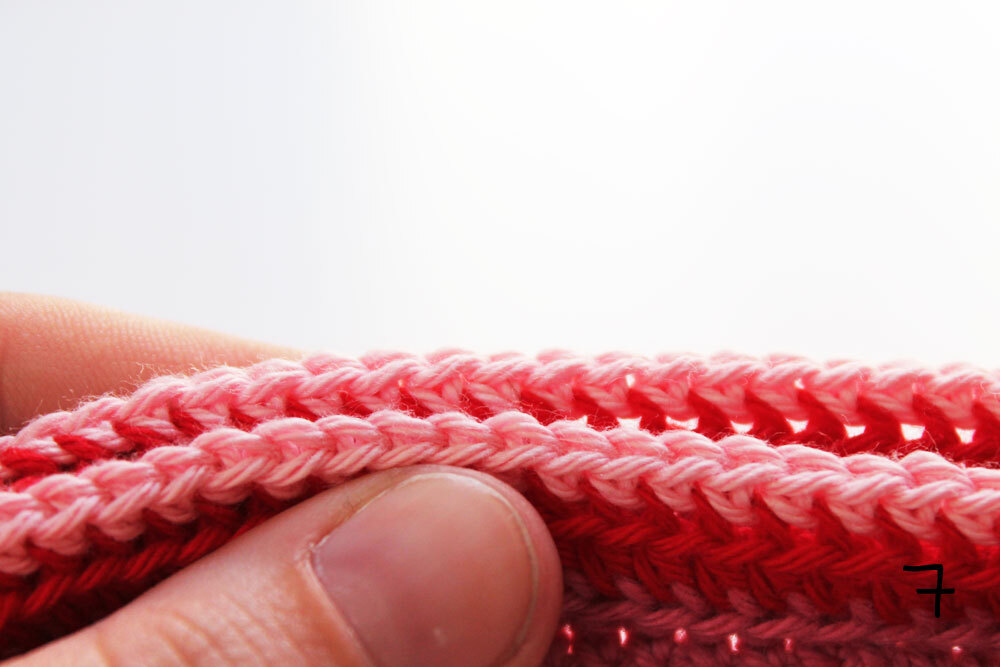
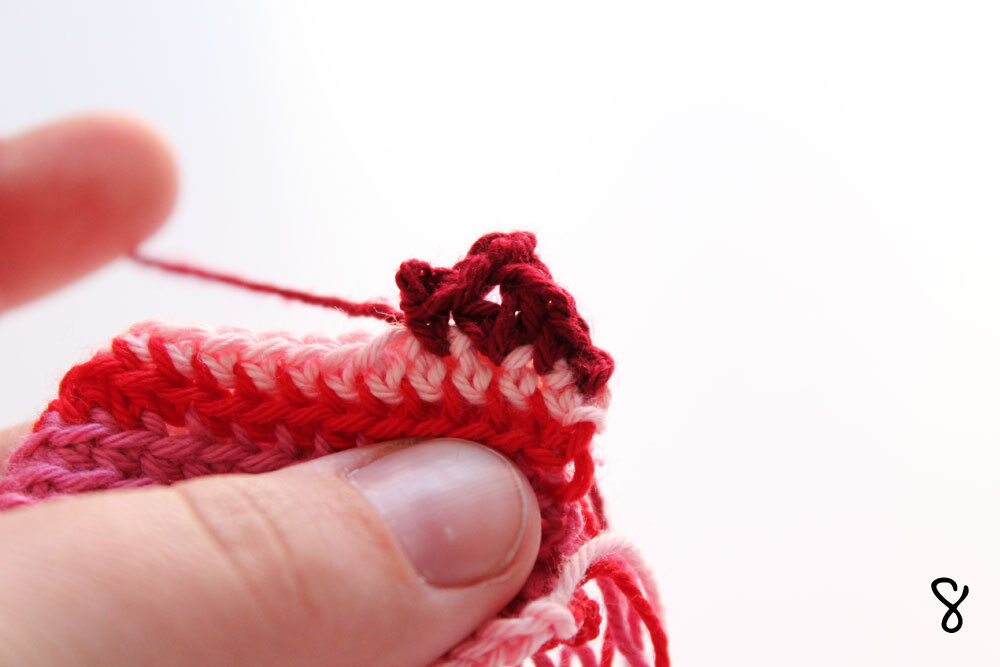
Now you have 2 separate rows: the front loop row and the back loop row. The instructions for these rows are indicated separately in the remaining pattern instructions.
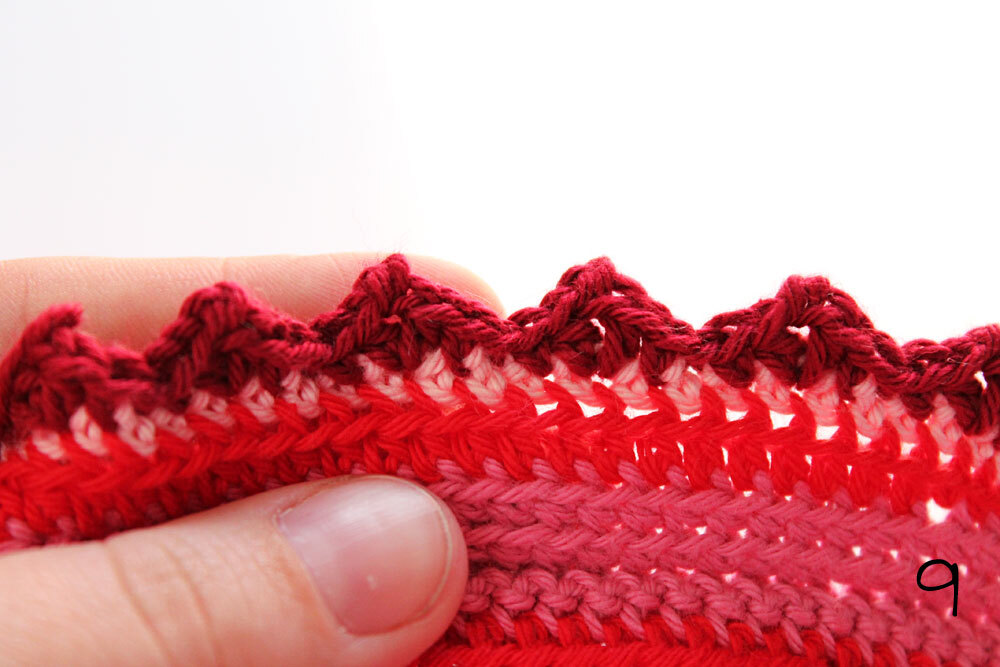
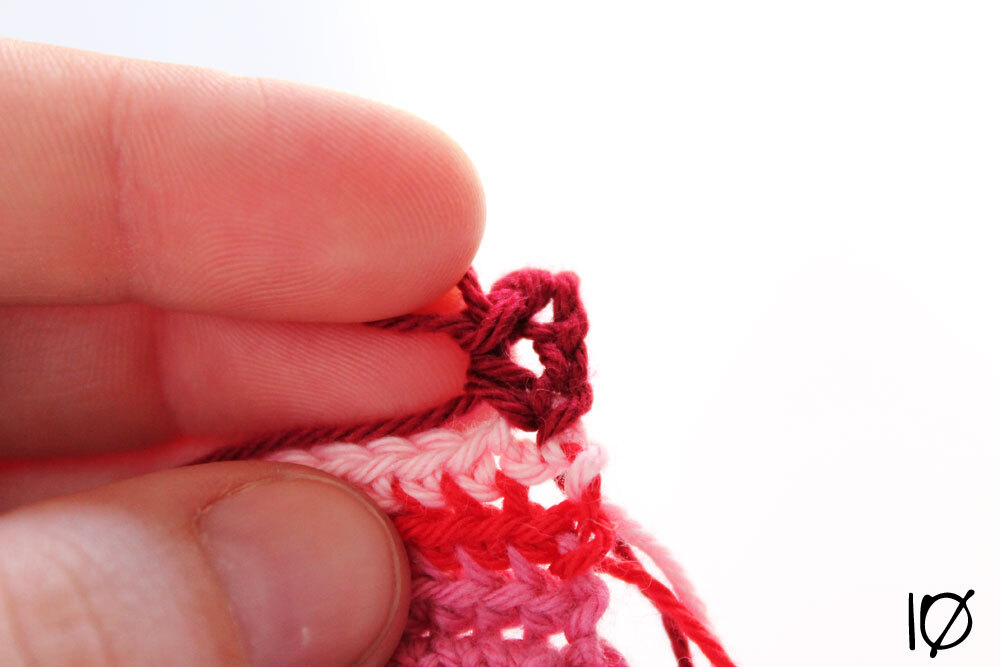
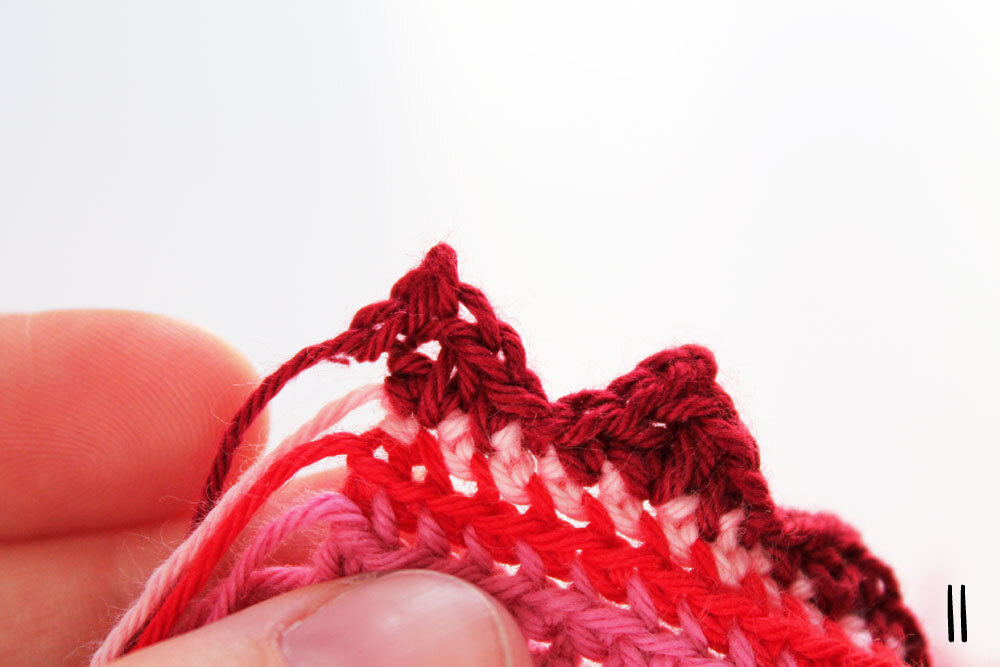
Blocking
I absolutely recommend wet blocking for the wristies at this point, before sewing them up. Have a look at my blocking tutorial here.
Joining
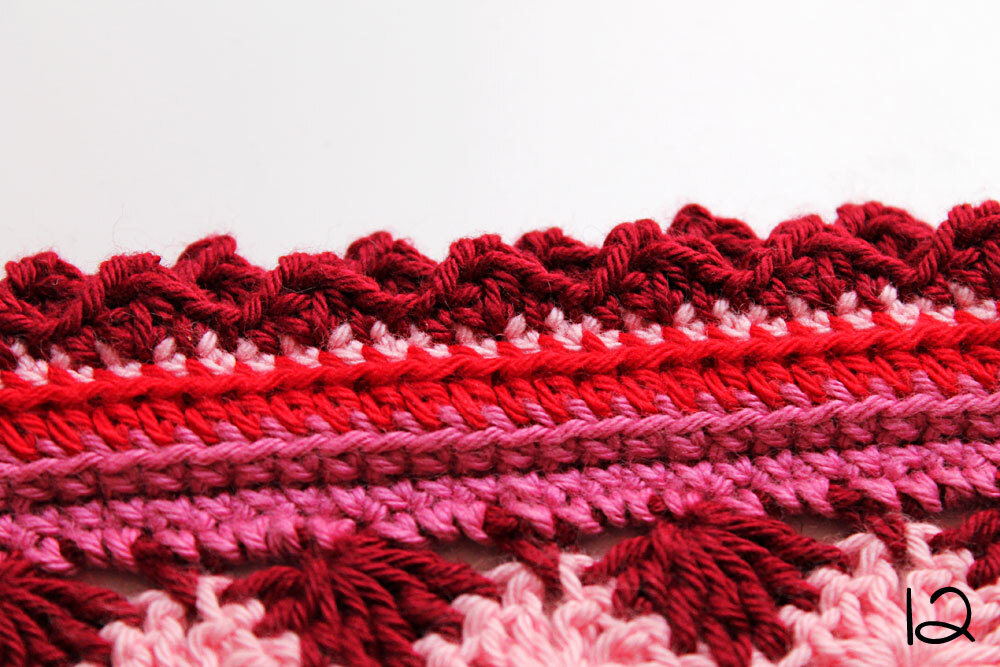
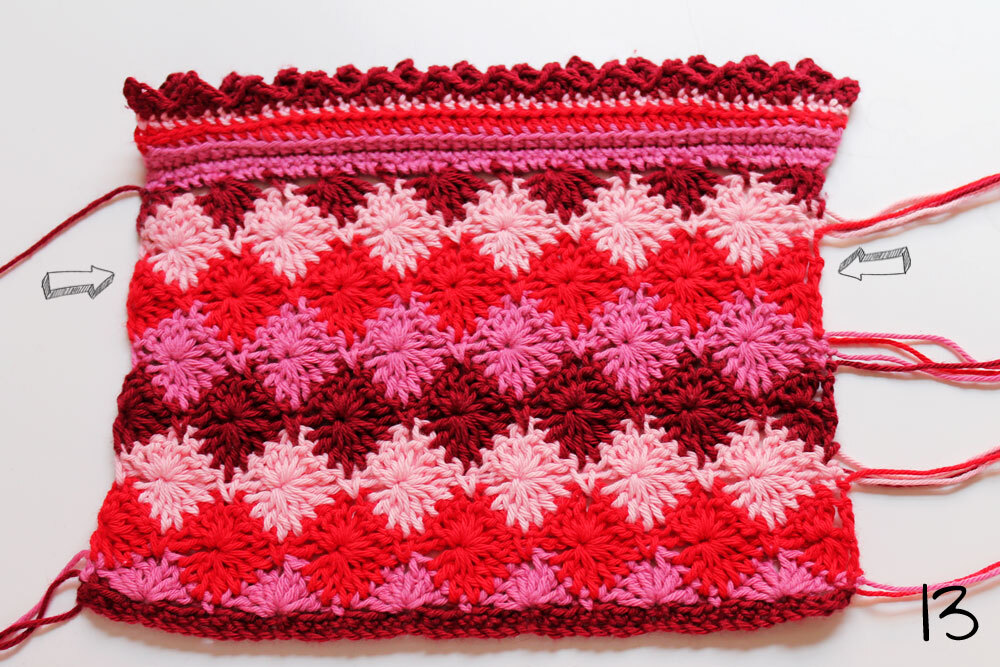
Now you need to join the edges. I joined them until the top red row (photo 13, arrows). This place might be different for you, but you need to join the wristies until they fit over your hands and the edging is around your knuckles. Finally, weave in the remaining ends.
That’s it! Enjoy your matching pair of wristies and cowl!
You might also like
Comments
Tina
January 07, 2021 01:50