

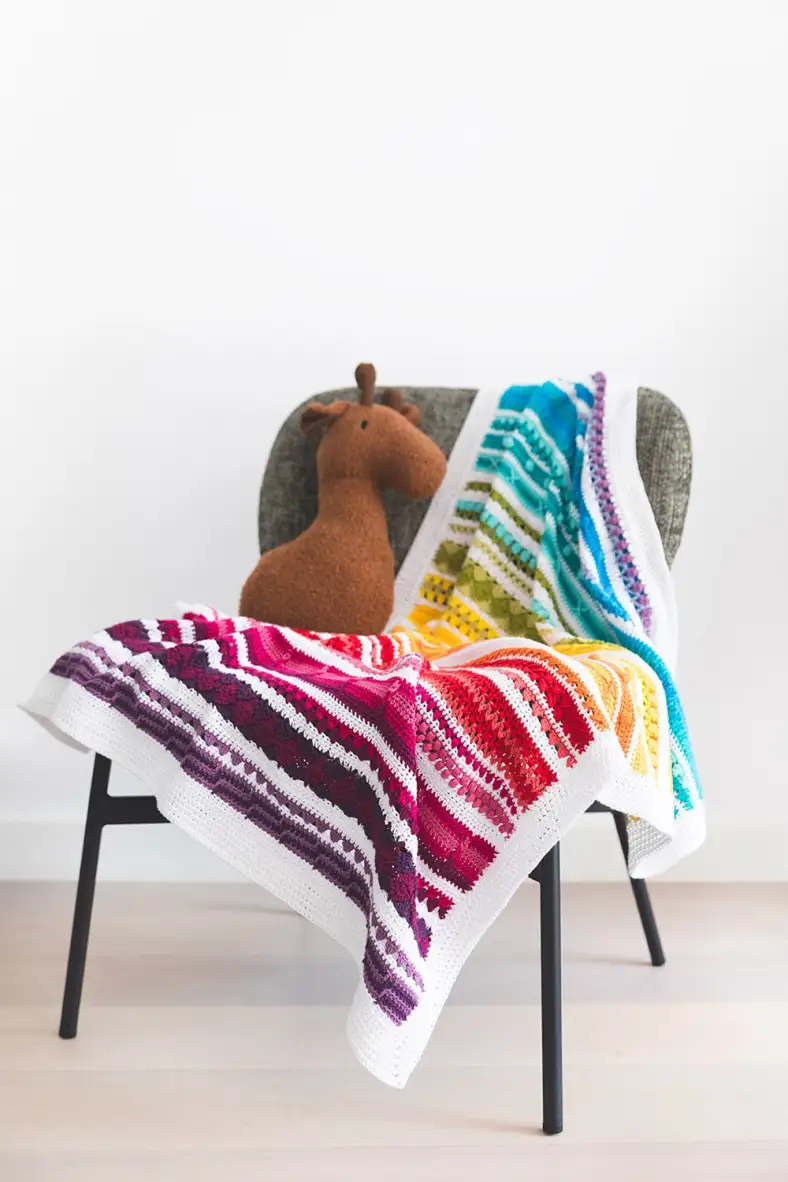
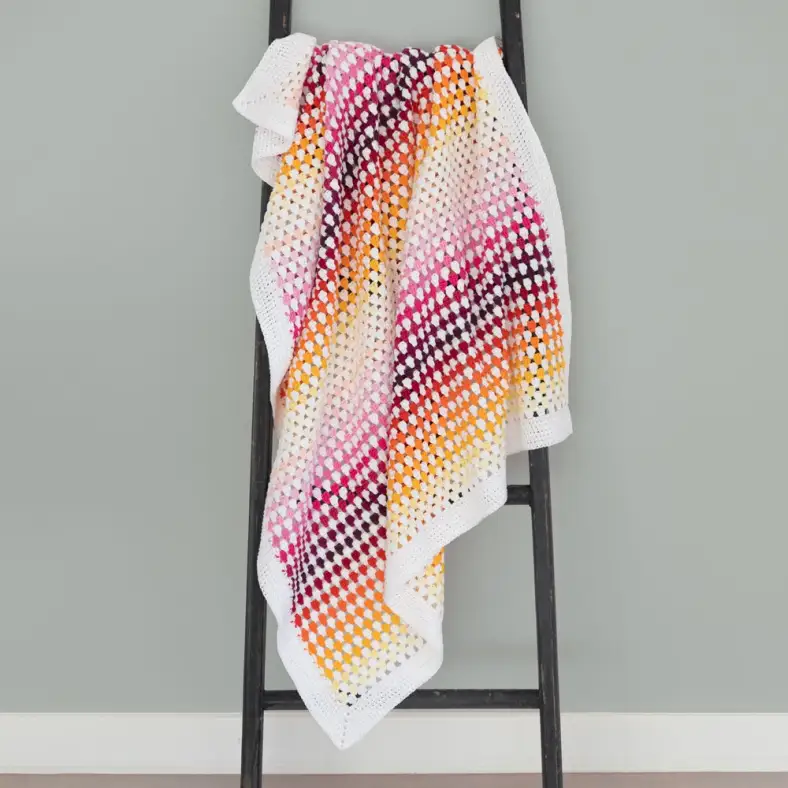
The Baby Rainbow Sampler Blanket 2 is a small version of the Big Rainbow Sampler Blanket 2. It features all the different stitches used in the original blanket, just smaller. It's a great project for an ambitious beginner who wants to learn more crochet stitches and perfect for gifting to your loved ones. This blanket is a journey in itself!
You can find the other pattern parts here:
Materials and preparation
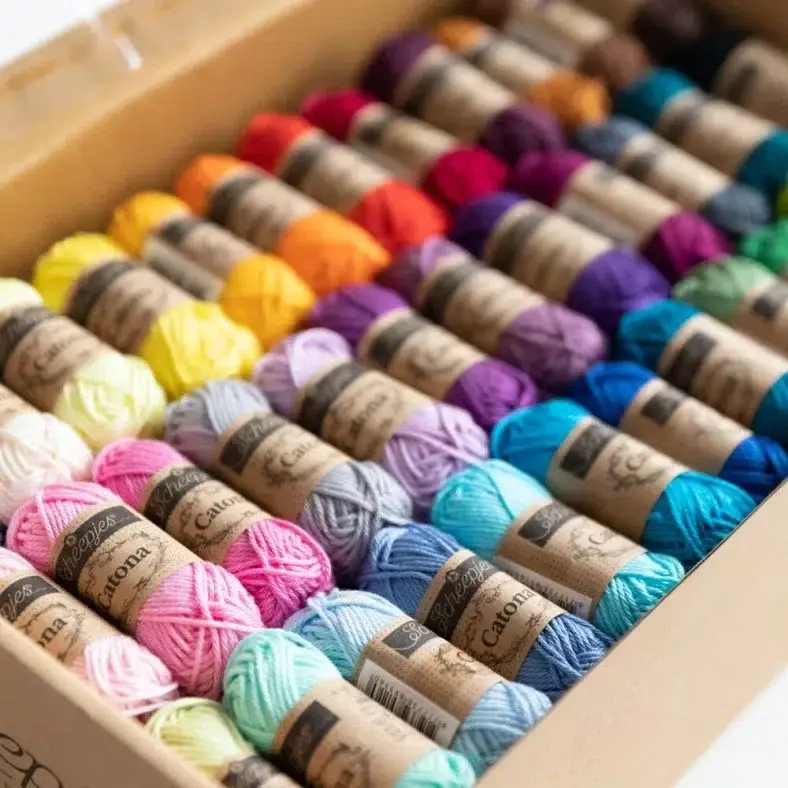
The pattern is available in two colourways: A Organicon rainbow colourway, and a Catona gradient colourway. Instructions for both colourways are included in the pattern. Be aware that they do use different amounts of each colour for each version.
Yarn
| Label | Colour name | Code | Amount |
|---|---|---|---|
| Colour A | Oxygen | 219 | 4 balls |
| Colour B | Lucky Heather | 259 | 1 ball |
| Colour C | Perfect Plum | 257 | 1 ball |
| Colour D | Dahlia | 246 | 1 ball |
| Colour E | Swaying Tulip | 247 | 1 ball |
| Colour F | Pink Elephant | 248 | 1 ball |
| Colour G | Amaranth | 245 | 1 ball |
| Colour H | Red Rose | 244 | 1 ball |
| Colour I | Deep Tangerine | 224 | 1 ball |
| Colour J | Happy Sunflower | 238 | 1 ball |
| Colour K | Baby Chick | 239 | 1 ball |
| Colour L | Sapling | 213 | 1 ball |
| Colour M | Olive | 228 | 1 ball |
| Colour N | Bright Ocean | 215 | 1 ball |
| Colour O | Happy Thoughts | 264 | 1 ball |
| Colour P | Sleepy Cyan | 268 | 1 ball |
| Colour Q | Ticklish Turquoise | 267 | 1 ball |
| Colour R | Bluebell | 255 | 1 ball |
| Label | Colour name | Code | Amount |
|---|---|---|---|
| Colour A | Snow White | 106 | 6 balls |
| Colour B | Primrose | 522 | 1 ball |
| Colour C | Yellow Gold | 208 | 1 ball |
| Colour D | Peach | 386 | 1 ball |
| Colour E | Rich Coral | 410 | 1 ball |
| Colour F | Cornelia Rose | 256 | 1 ball |
| Colour G | Fresia | 519 | 1 ball |
| Colour H | Tulip | 222 | 1 ball |
| Colour I | Icy Pink | 246 | 1 ball |
| Colour J | Light Silver | 172 | 1 ball |
| Colour K | Chrystalline | 385 | 1 ball |
| Colour L | Tropic | 253 | 1 ball |
| Colour M | Sky Blue | 510 | 1 ball |
| Colour N | Lilac Mist | 399 | 1 ball |
| Colour O | Lavender | 520 | 1 ball |
| Colour P | Colonial Rose | 398 | 1 ball |
| Colour Q | Garden Rose | 251 | 1 ball |
| Colour R | Cherry | 413 | 1 ball |
Shop the yarn!
Do you want to make this blanket? You can find the yarn for this blanket in several stores, such as:
Crochet hook
3.5mm (US size E/4) for both versions
Measurements
Organicon blanket measures 110 x 85 cm (43 x 33½ in) after blocking. Catona blanket measures 122 x 94 cm (48 x 37 in)
Gauge/tension
Gauge is not critical for this pattern. If you want precise gauge instructions, check out Part 1
Abbreviations (US terms)
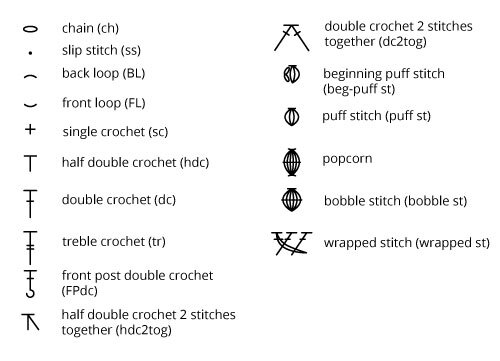
- begin-bobble
- ch2, (yarn over, insert hook in stitch, yarn over, pull up loop, yarn over, pull through two loops on hook) 5x in the same stitch or space, yarn over, pull through all loops on hook
- bobble
- (yarn over, insert hook in stitch, yarn over, pull up loop, yarn over, pull through two loops on hook) 6x in the same stitch, yarn over, pull through all loops on hook
- ch
- chain(s)
- dc
- double crochet
- hdc
- half double crochet
- popcorn
- 6dc in same stitch, remove hook from loop, insert hook from front to back through first dc, pick up loop, pull through dc to close popcorn
- RS
- right side
- ss
- slip stitch
- s(ts)
- stitch(es)
- WS
- wrong side
Repeat formats
- *….; rep from * once/twice/3x — Crochet the instructions after * and then repeat that section a further number of times as indicated.
- (…) once/twice/3x — Crochet the instructions between brackets the total number of times indicated.
- […] — Indicates the amount of stitches at the end of a row or round.
- (…) in same st/sp — Indicates that all instructions between brackets are worked in the same stitch or space.
Notes
- The pattern for this blanket is long. To keep track of where you are, I’ve divided it into different parts. Each part introduces a new section with Techniques and also contains a crochet diagram.
- In most rows you’ll make a ch1 before turning your blanket. This is a turning chain and does not count as a stitch. If you find a ch1 is too small, you can also make a ch2. This depends on how tight you crochet.
Colour layout
Part 11 Weekly overview
Techniques
The techniques are placed on a separate page. You can find them here:
Crochet pattern
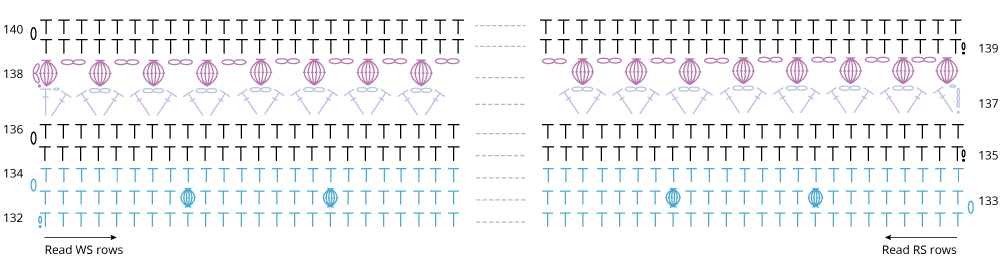
Popcorn section 3 (Rows 132-136)
The final section is made with popcorns. Enjoy!
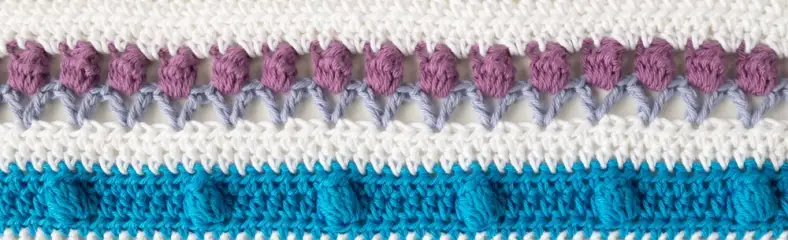
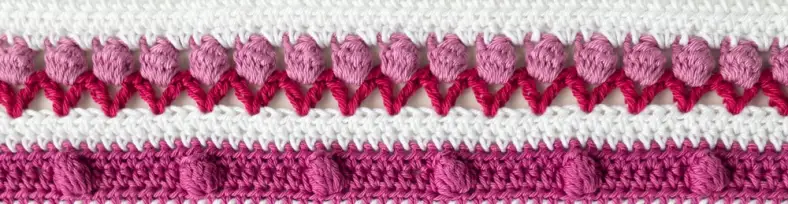
Tulip stitch section 3 Rows 137-140
We’ll finish this blanket's body with a final row of Tulip stitches. Maybe you have ideas on how to make this row truly your own. For example, with your favourite colours, or maybe with different colours in the same row, or maybe something else altogether?
As you can see, this first row of the Tulip stitch resembles the V stitch. You can see the leaves of each tulip forming. Next, we will make bobble stitches to form the tulip’s flower. Bobbles are yet another way of creating volume.
The white row will most likely pull a bit inward here, especially on top of the first and last bobble stitch. But that’s okay - we’ll sort it out with the edging.
Weave in all your ends, if you haven’t done that already.
Preparing for the edge
Checking the shape
If you have the space and opportunity, I would recommend wet- or sprayblocking your blanket at this point. It helps to see where your blanket pulls inwards and possibly flares so you can counter this in your first couple of edging rows. If you don’t have the space, simply lay your blanket flat and have a look at whether and where it flares or pulls—write the section(s) down so you can refer to them when making the edging.
Blocking
After finishing Row 140, my Organicon blanket measured approximately 100 x 75cm (39 x 29½in). I blocked the blanket to around 115 x 85cm (45 x 33½in), but it’s more important for you to make it as rectangular as possible than to approximate my measurements (those might differ for everybody).
You can find a very extensive blocking tutorial here. Stretch the blanket to the point where you can pin it in a rectangular shape and where there are no ‘peaks’ forming where your pins are. If so, pin again and stretch the blanket a little less. Next, use a spray bottle with lukewarm water (and, optionally, some Eucalan) to make your blanket wet. Let it air dry, and then take out the pins.
The ideal scenario is that after you block your blanket, you remove the pins and leave it on the ground for another day so you can see the final shape once all external tension (from the pins) is removed. This gives you the best approximation of the final size of your blanket. After blocking, my Organicon blanket stretched back to approximately 110 x 80cm (43 x 31½in). The Catona one was slightly bigger.
Diagrams
You might also like
Comments
Be the first to comment to this post!